
# Quick Start: From Account to Data Analysis
This guide takes you through the complete PhotosynQ workflow: create an account, configure a Project, connect a MultispeQ, collect and upload a measurement, and begin reviewing the data.
# Before You Start
You will need:
- A PhotosynQ account and access to its email inbox
- An Android phone with internet access and Bluetooth
- A charged MultispeQ
- A research question and basic experimental plan
- A representative leaf or sample
Plan before collecting
Define the experimental unit, treatments, controls, biological replication, blocks, sampling times, and primary outcomes before creating the Project. PhotosynQ organizes collection but does not replace experimental design or statistical power analysis.
# 1. Create a PhotosynQ Account
- Open PhotosynQ (opens new window) and select Sign Up.
- Enter the required account information and submit the form.
- Open the confirmation email and verify the account.
- Sign in with the account email and password.
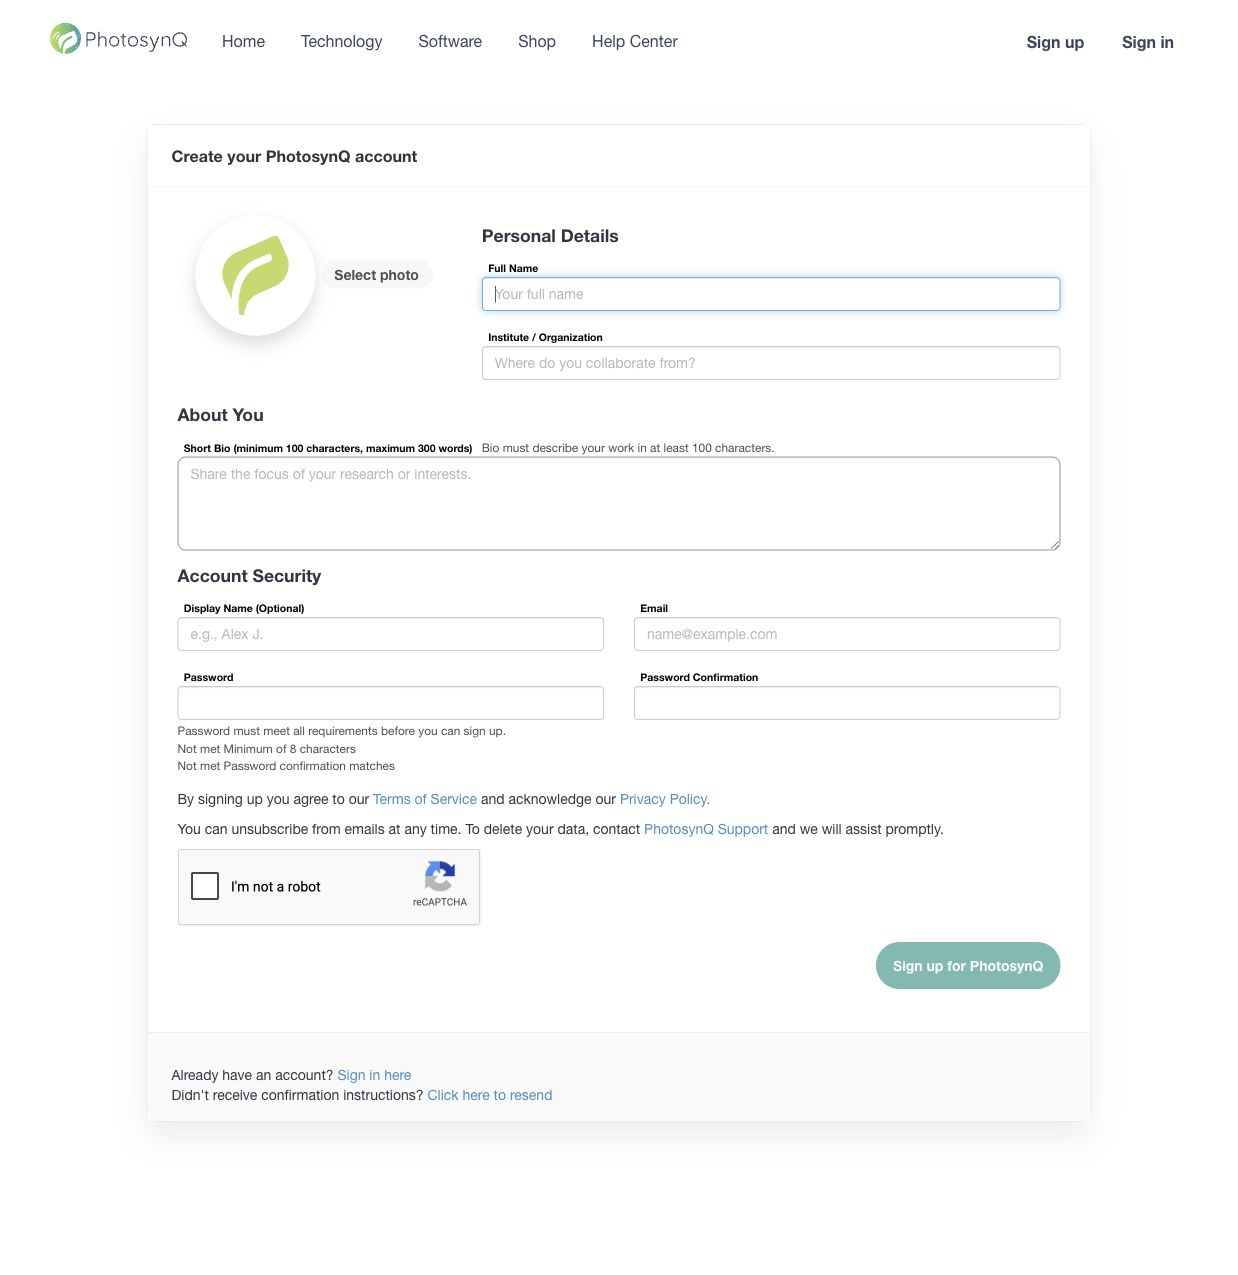
See Create an Account for the complete registration and verification flow.
# 2. Create and Configure a Project
From the Dashboard, select New Project. Complete all five Project builder steps:
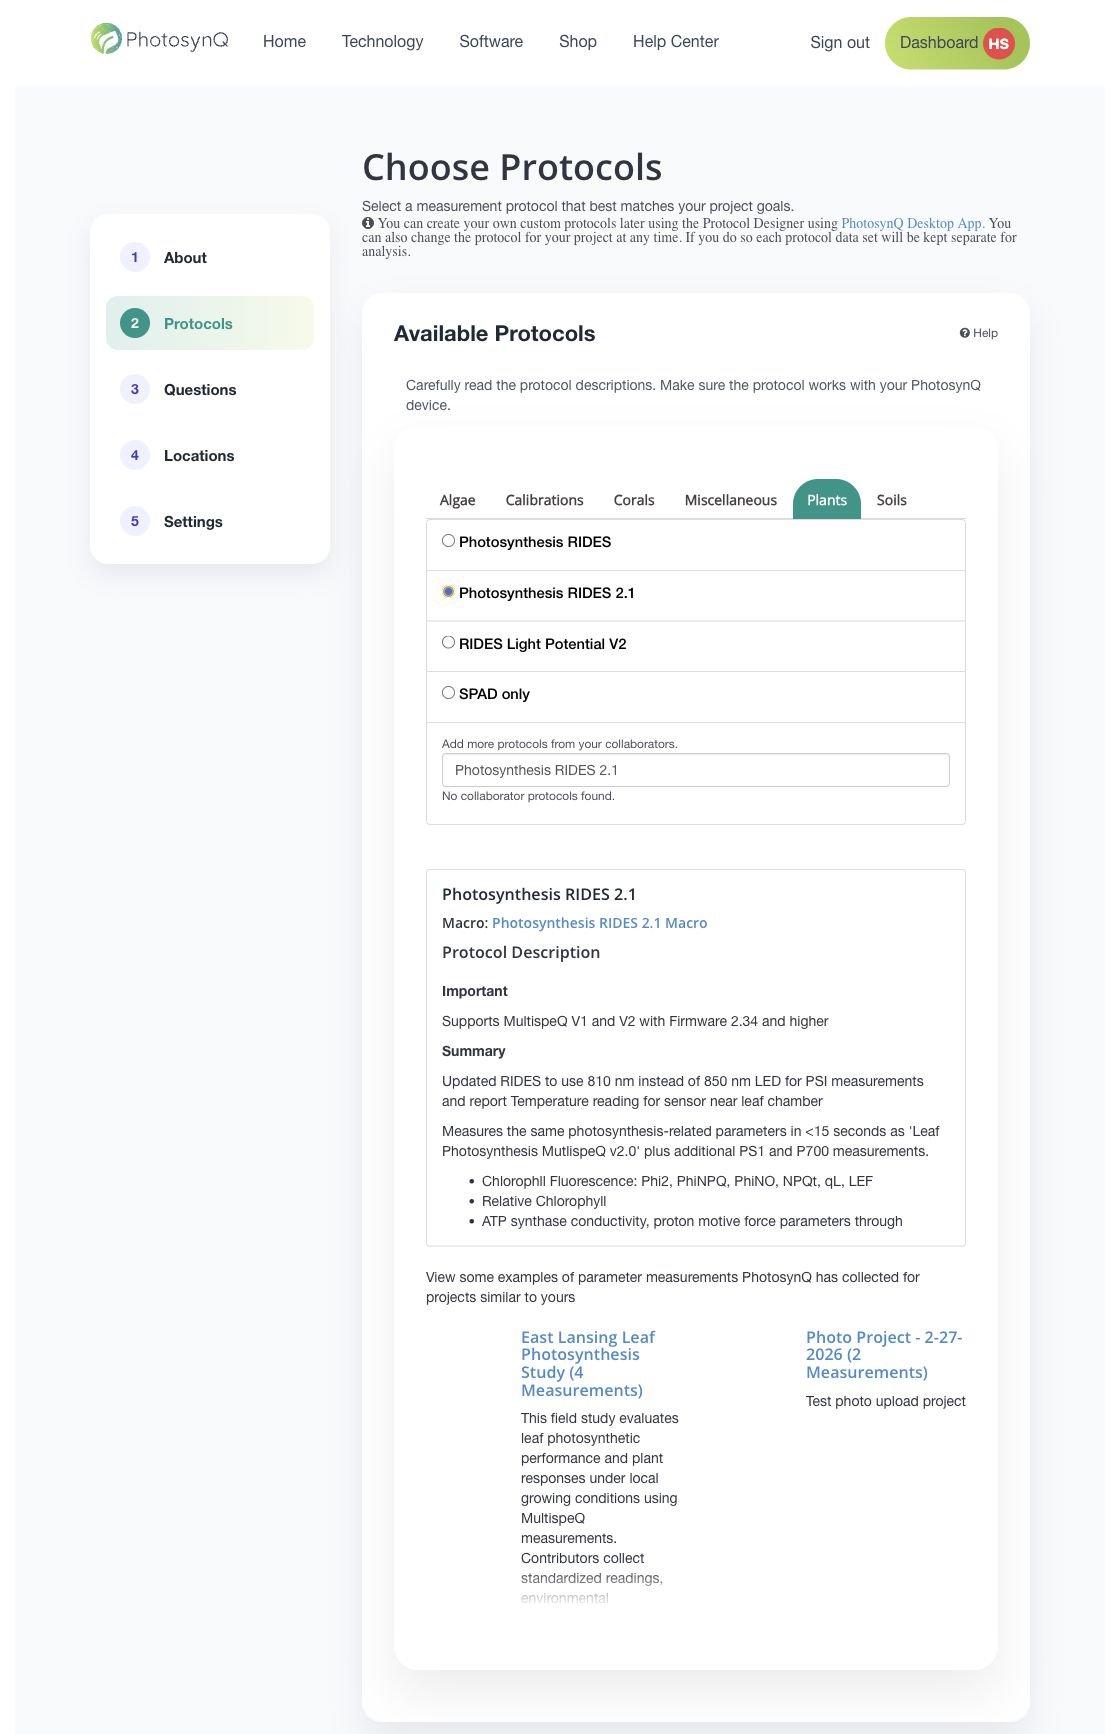
- About: Add a clear name, category, description, tags, and images.
- Protocols: Select a Protocol that supports the MultispeQ model, firmware, scientific method, and parameters required by the study.
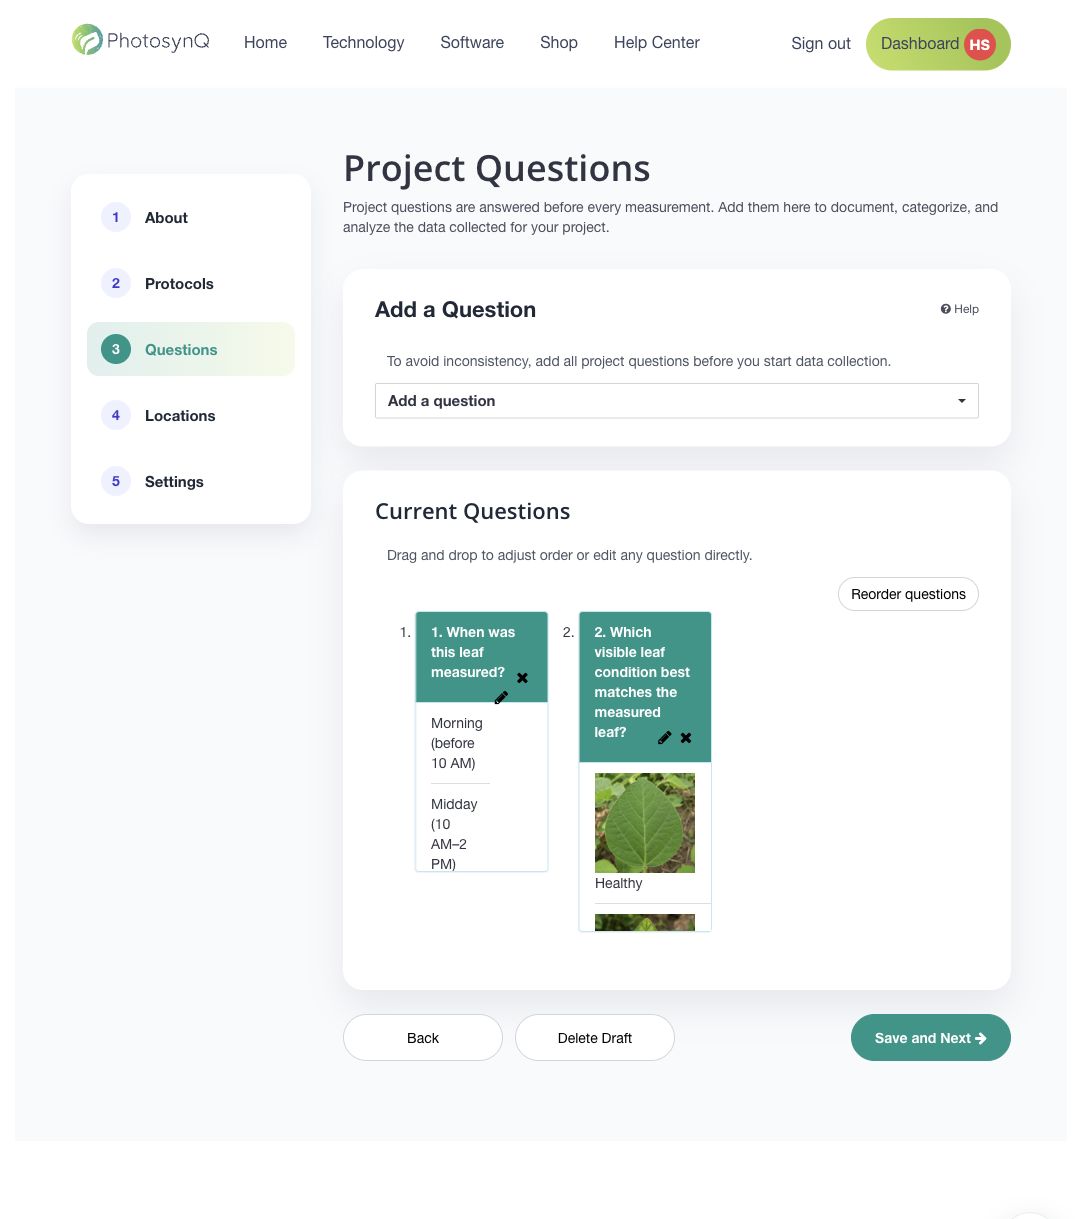
- Questions: Configure the metadata contributors must provide for every measurement.
- Locations: Add the intended collection locations or zones.
- Settings: Add collaborators, choose visibility, select a subscription, and create the Project.
# Project Question Tips
Project Questions determine whether measurements can be grouped, filtered, and interpreted correctly later.
- Include identifiers required by the design, such as treatment, control, block, replicate, genotype, plot, sample, leaf position, and collection time.
- Prefer predefined multiple-choice answers over free text whenever values are known.
- Use short answers only when values cannot be defined in advance. Spelling, capitalization, and unit differences create separate values during analysis.
- Include units in the question, such as Plant height (cm).
- Keep labels and answer choices short, unambiguous, and mutually exclusive.
- Use QR codes or barcodes for long or error-prone sample identifiers.
- Avoid changing questions or answer choices after data collection begins.
- Test the complete question sequence with the people who will collect data.
# Select a Subscription
Choose the subscription that matches the Project's visibility and access requirements:
- Vault: The Project and measurements are private to authorized Project users.
- Canopy: The Project can be discovered by PhotosynQ users, while measurements remain private to the Project team.
Paid Project subscriptions include a free trial. Review the current trial duration, pricing, renewal, and billing terms displayed in Project Settings before selecting Create Project.
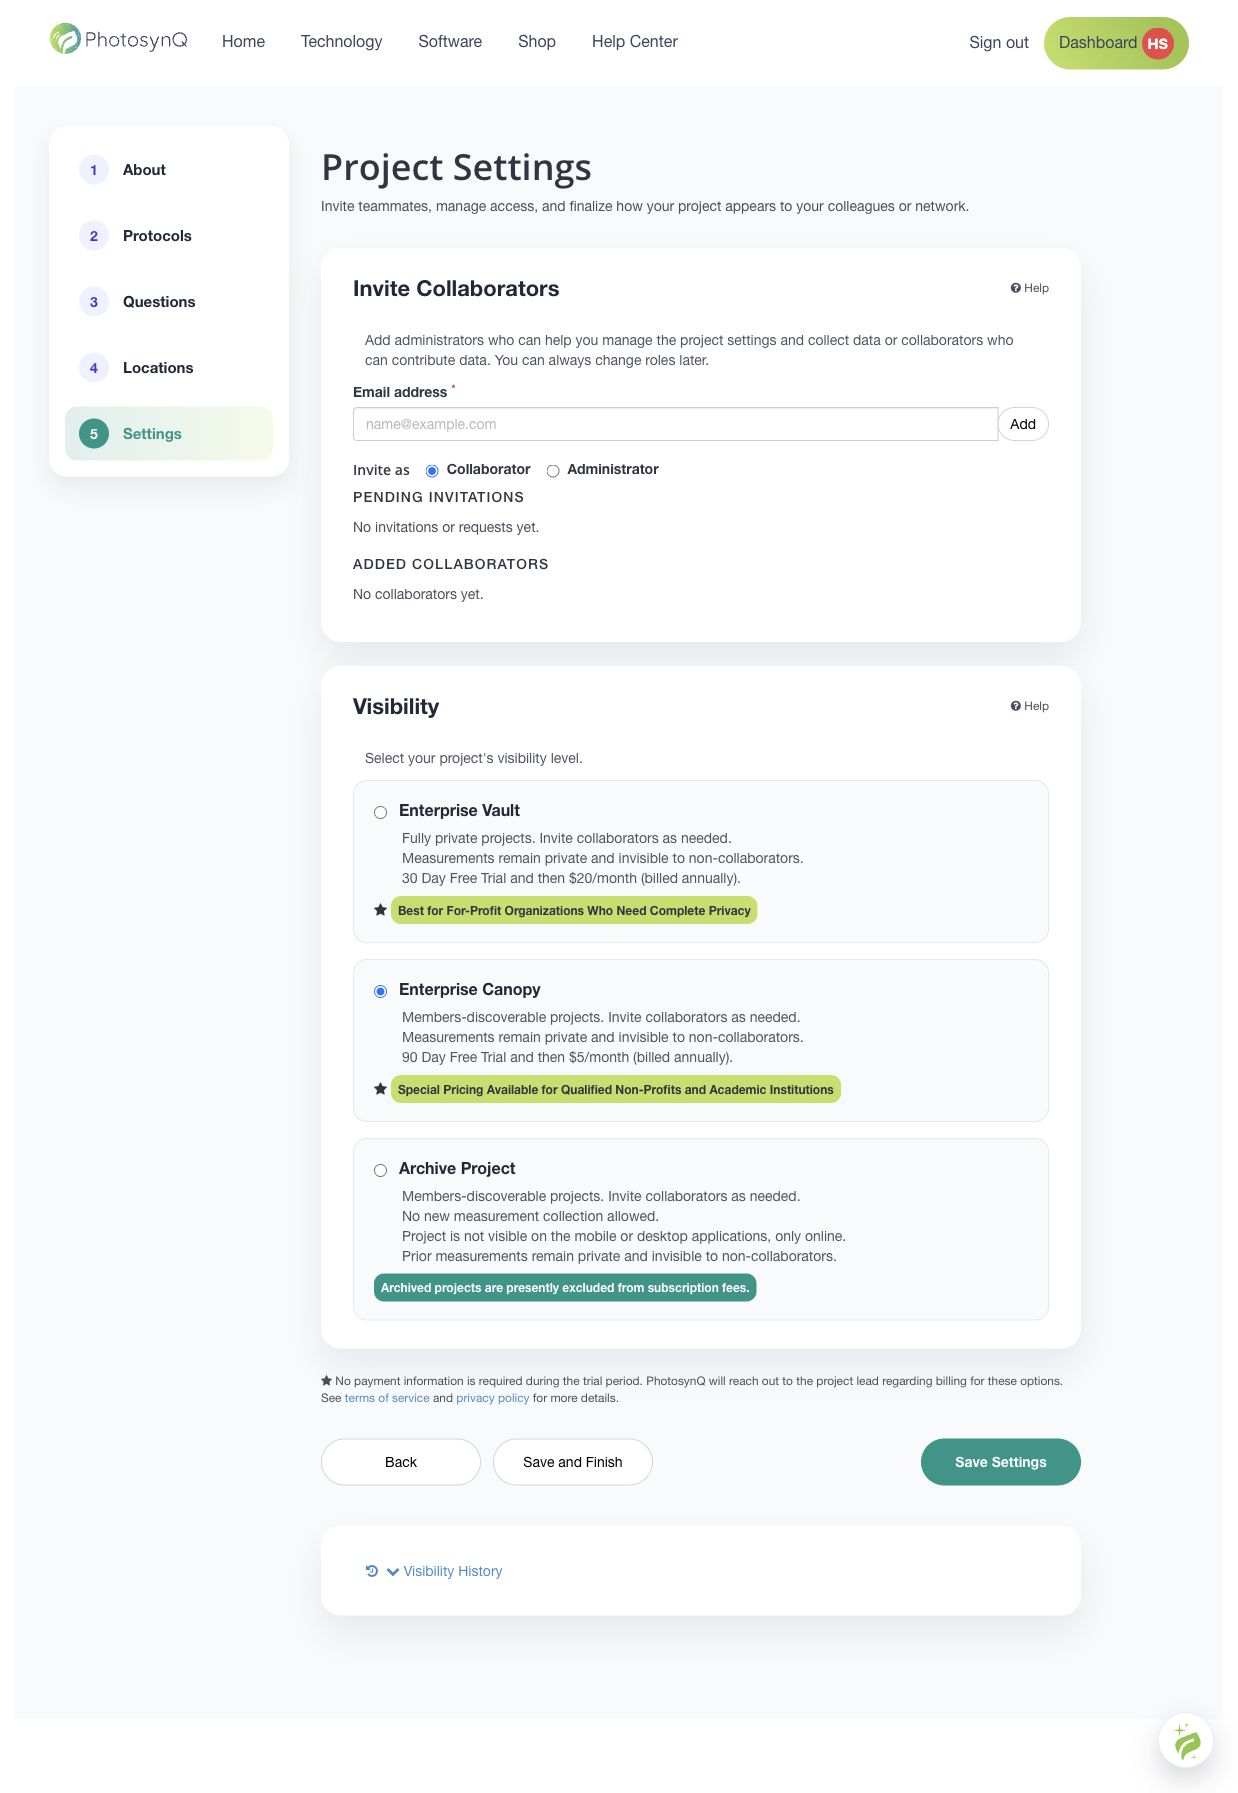
See Create a New Project for all builder options.
# Confirm the Project Dashboard
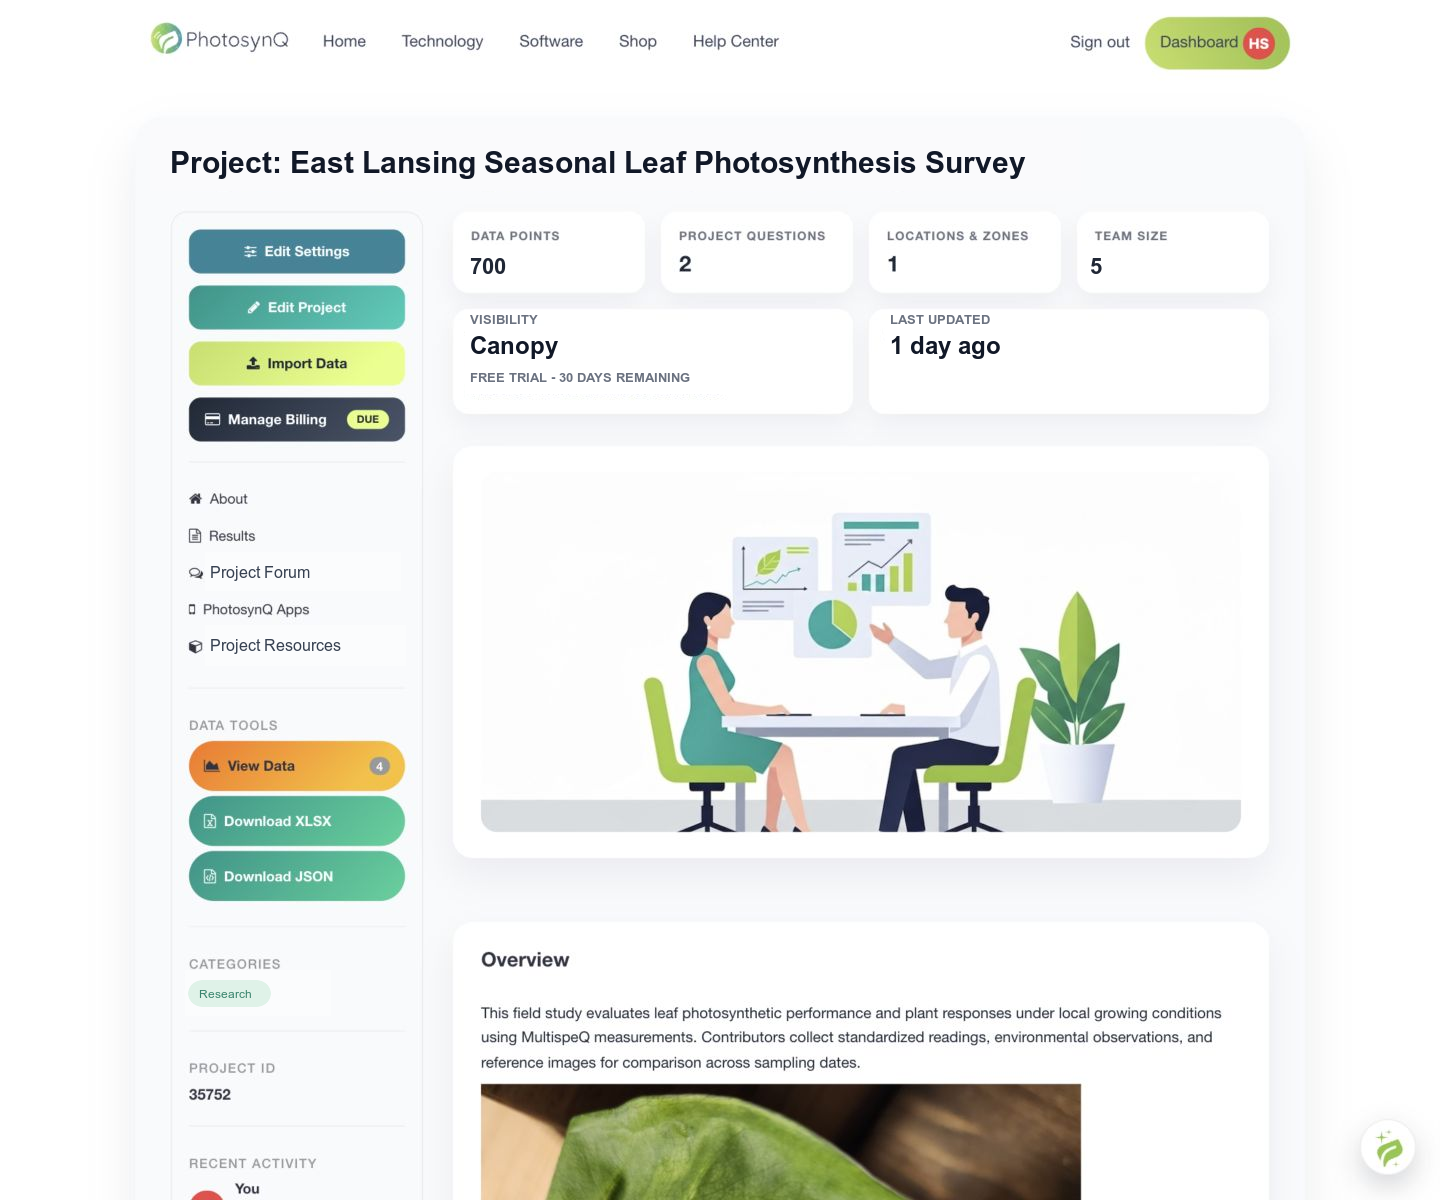
After creating the Project, review its dashboard and confirm the title, Protocol, questions, locations, team access, and subscription before collecting data. Return to the dashboard during collection to review progress and use the primary data actions:
- View Data opens the Project Data Explorer.
- Download XLSX downloads the Project measurements as a workbook.
- Download JSON downloads the processed Project records in JSON format.
Downloads are restricted to authorized Project-team members with the required access. Preserve an unchanged export as the source dataset before cleaning or transforming data.
# 3. Install and Sign In to the Android App
- Install PhotosynQ from the Google Play Store (opens new window).
- Open the app and allow the Bluetooth, Nearby Devices, location, camera, and notification permissions required by the workflows you use.
- Enter the PhotosynQ email address and password.
- Enter the seven-character verification code sent by email.
The verification code expires after 20 minutes. A new code can be requested after the 60-second resend cooldown. After successful sign-in, the app keeps the session until you sign out or authentication becomes invalid; it does not intentionally interrupt active field collection.
See Android Installation and Sign In to PhotosynQ.
# 4. Pair and Connect the MultispeQ
- Charge and turn on the MultispeQ.
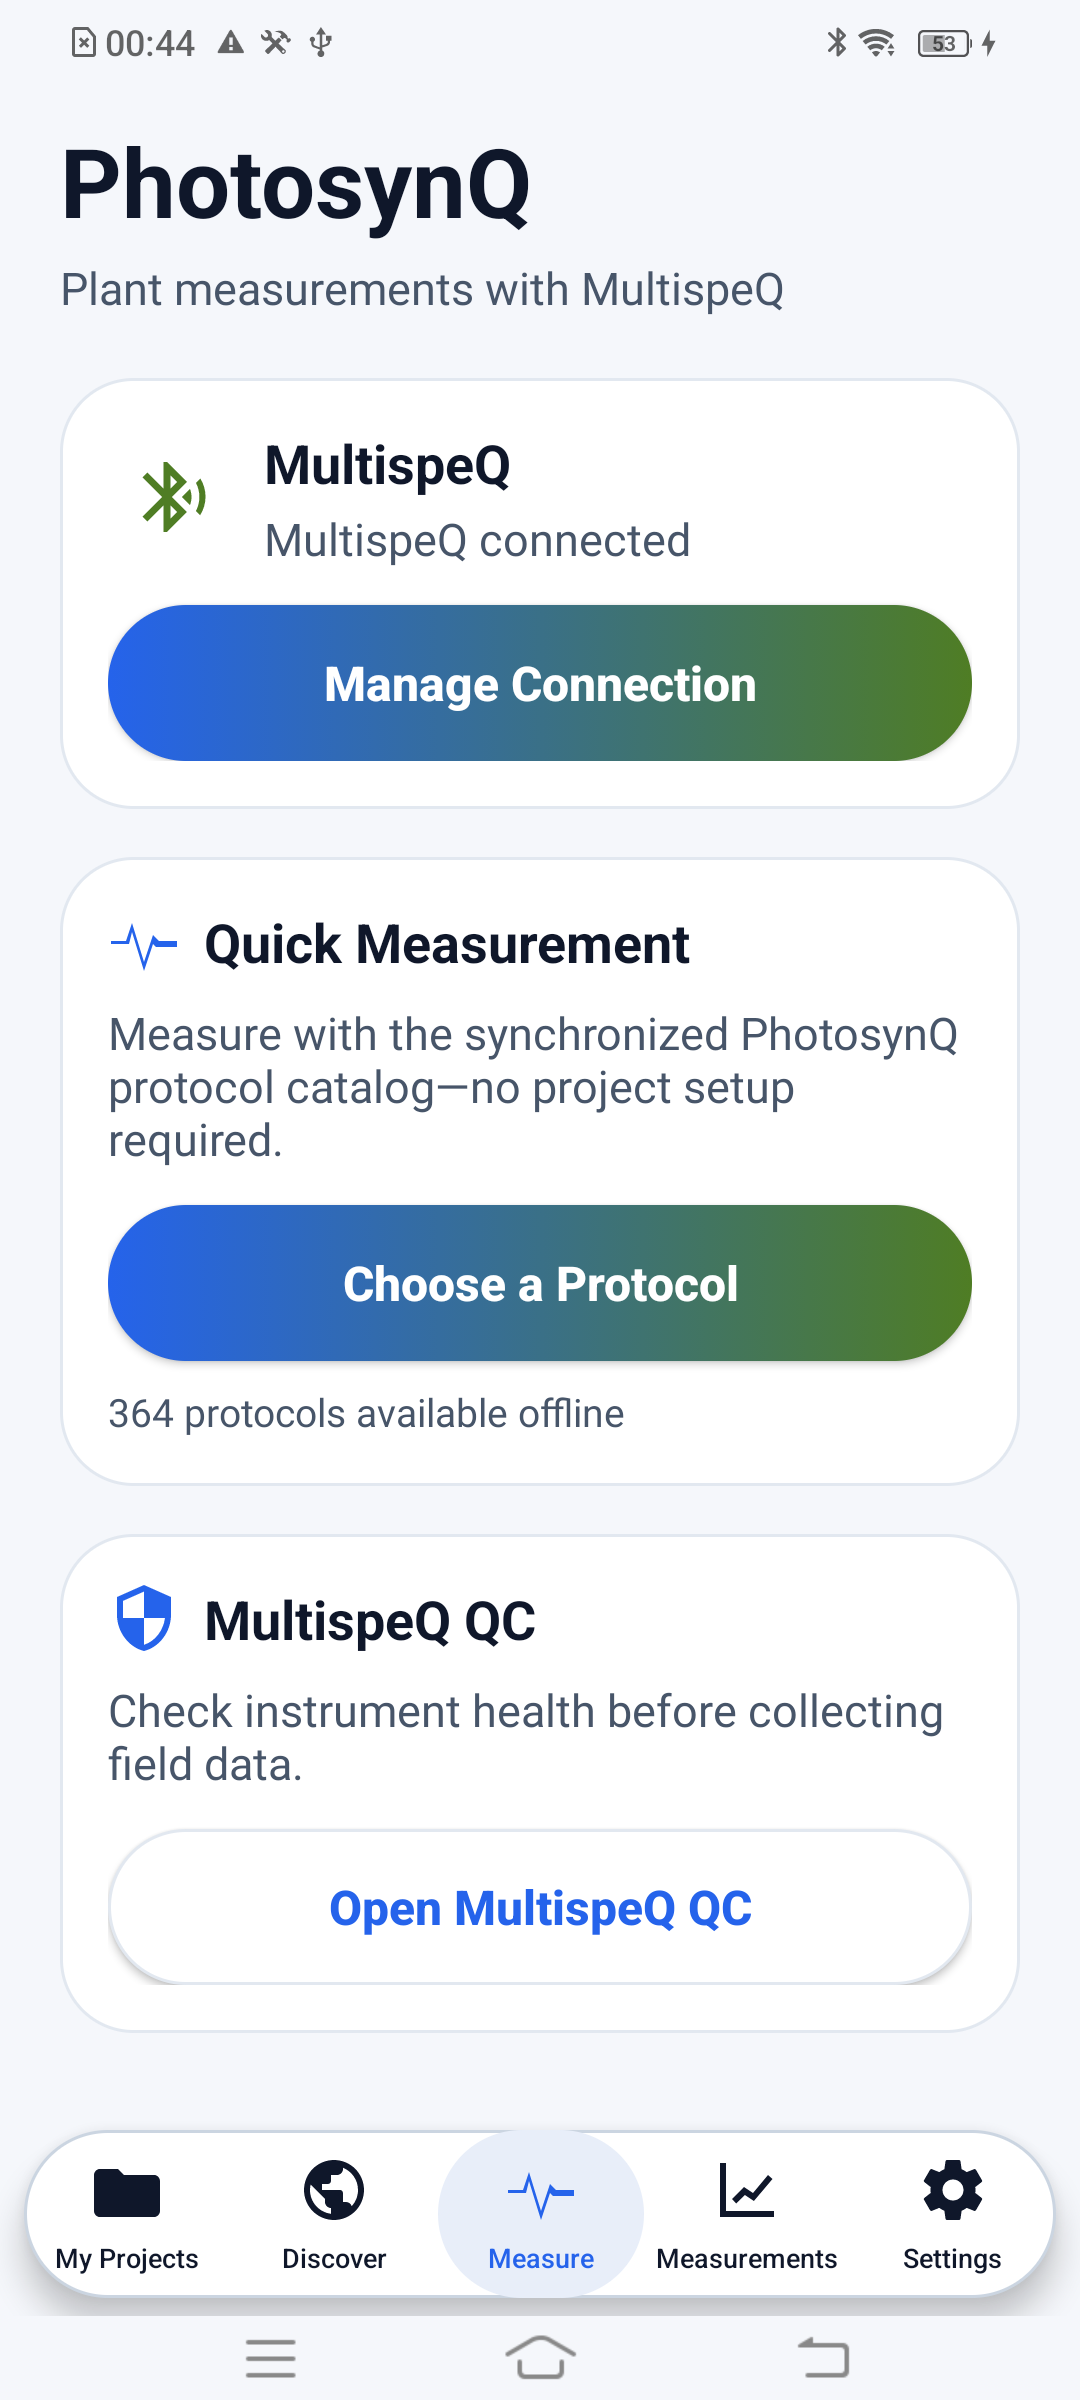
- Open Measure → Connect MultispeQ.
- Select Scan Devices.
- Match the device ID in Nearby Devices with the identifier on the MultispeQ.
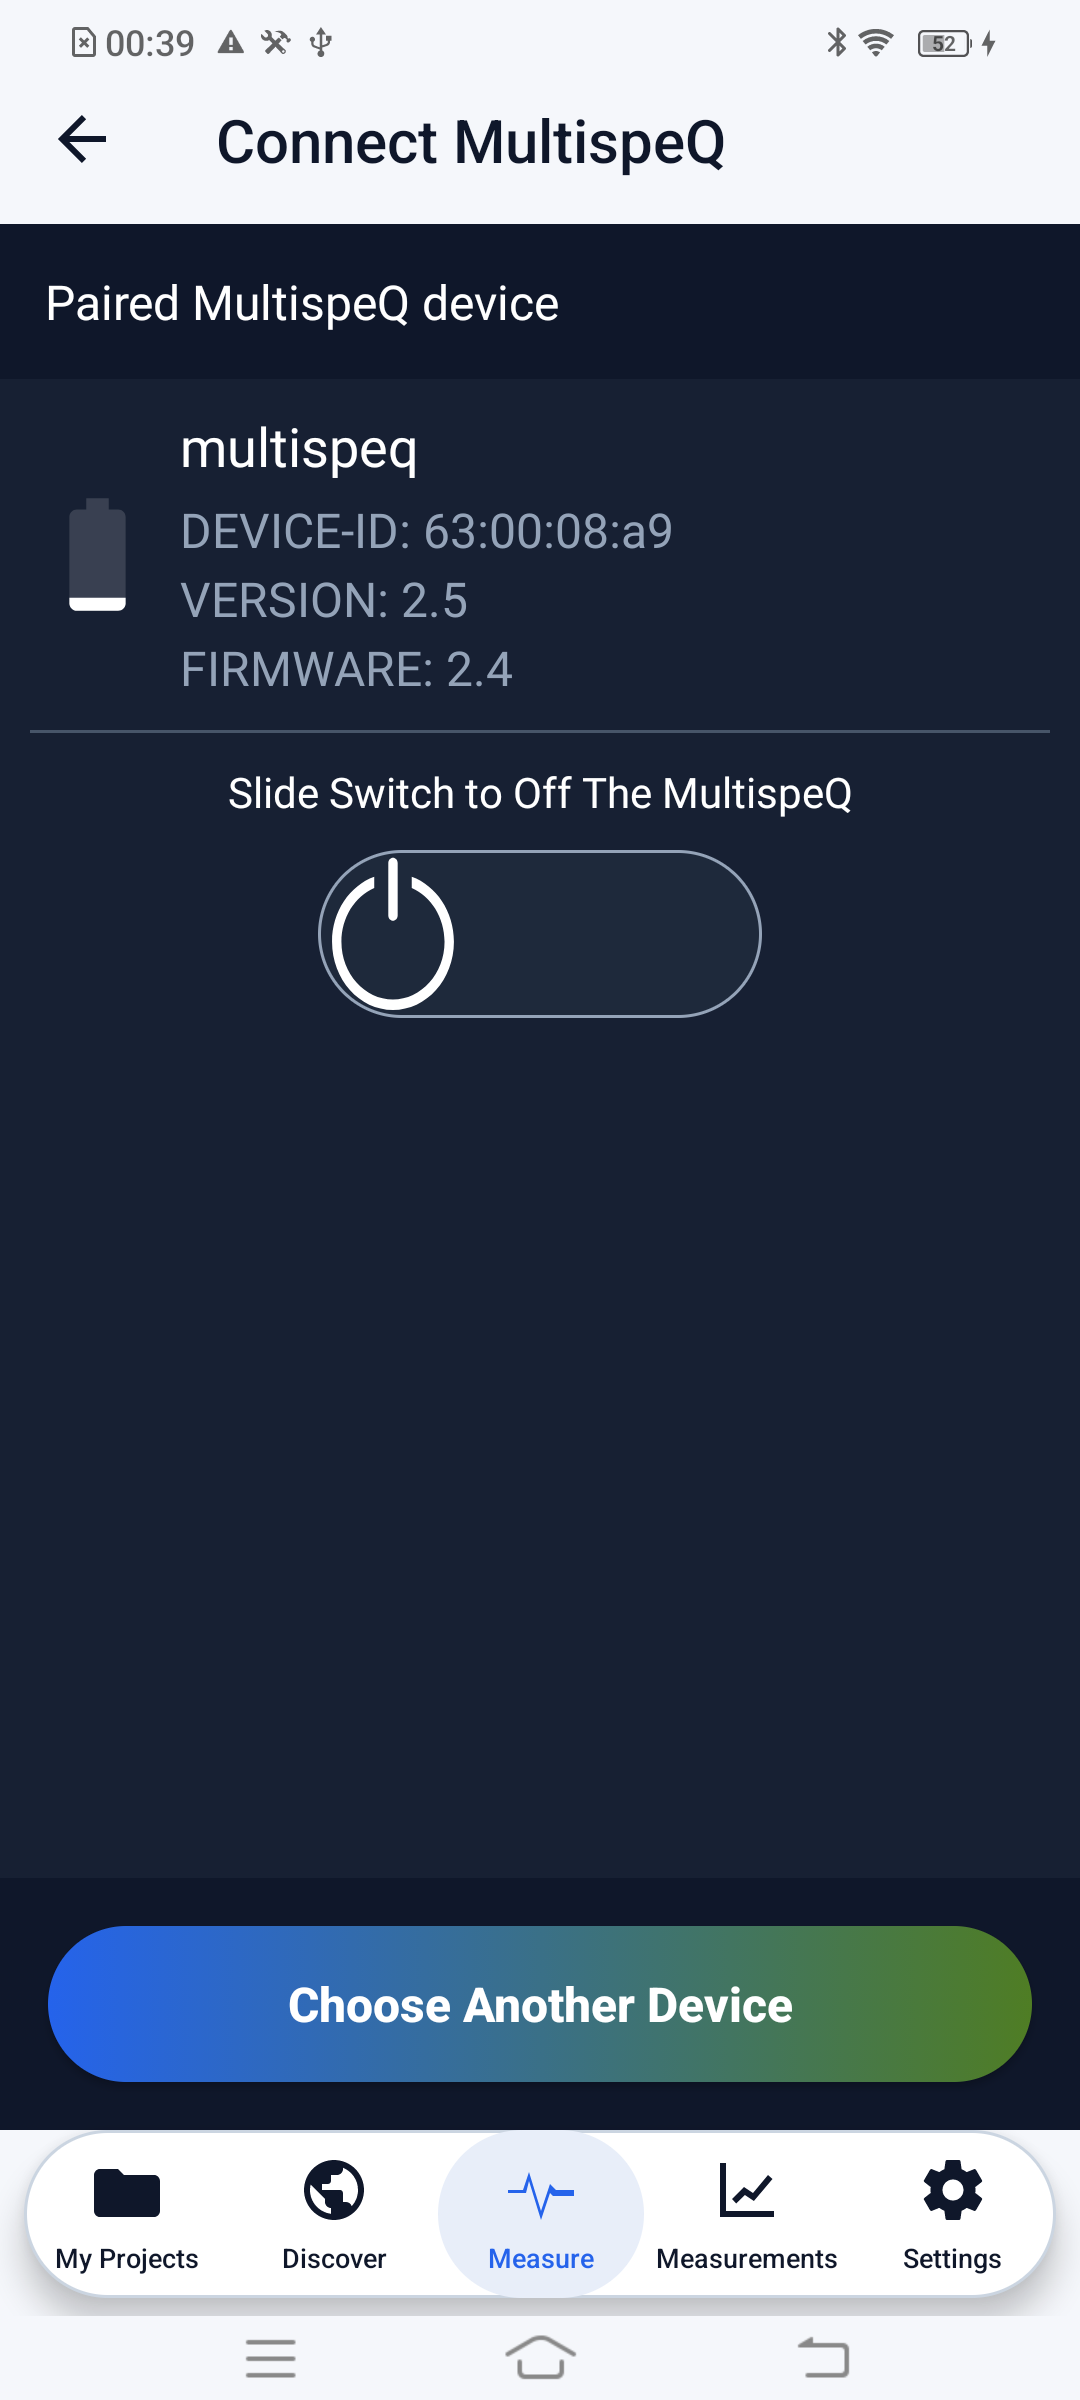
- Select the instrument and enter pairing PIN
1234if Android requests it. - Wait for the connected-device screen before continuing.
| Measure Tab | Confirm the Connection |
|---|---|
 |  |
See Connect an Instrument for troubleshooting and reconnection guidance.
# 5. Run MultispeQ QC
Run QC before the first collection session and after changing or reconnecting the instrument.
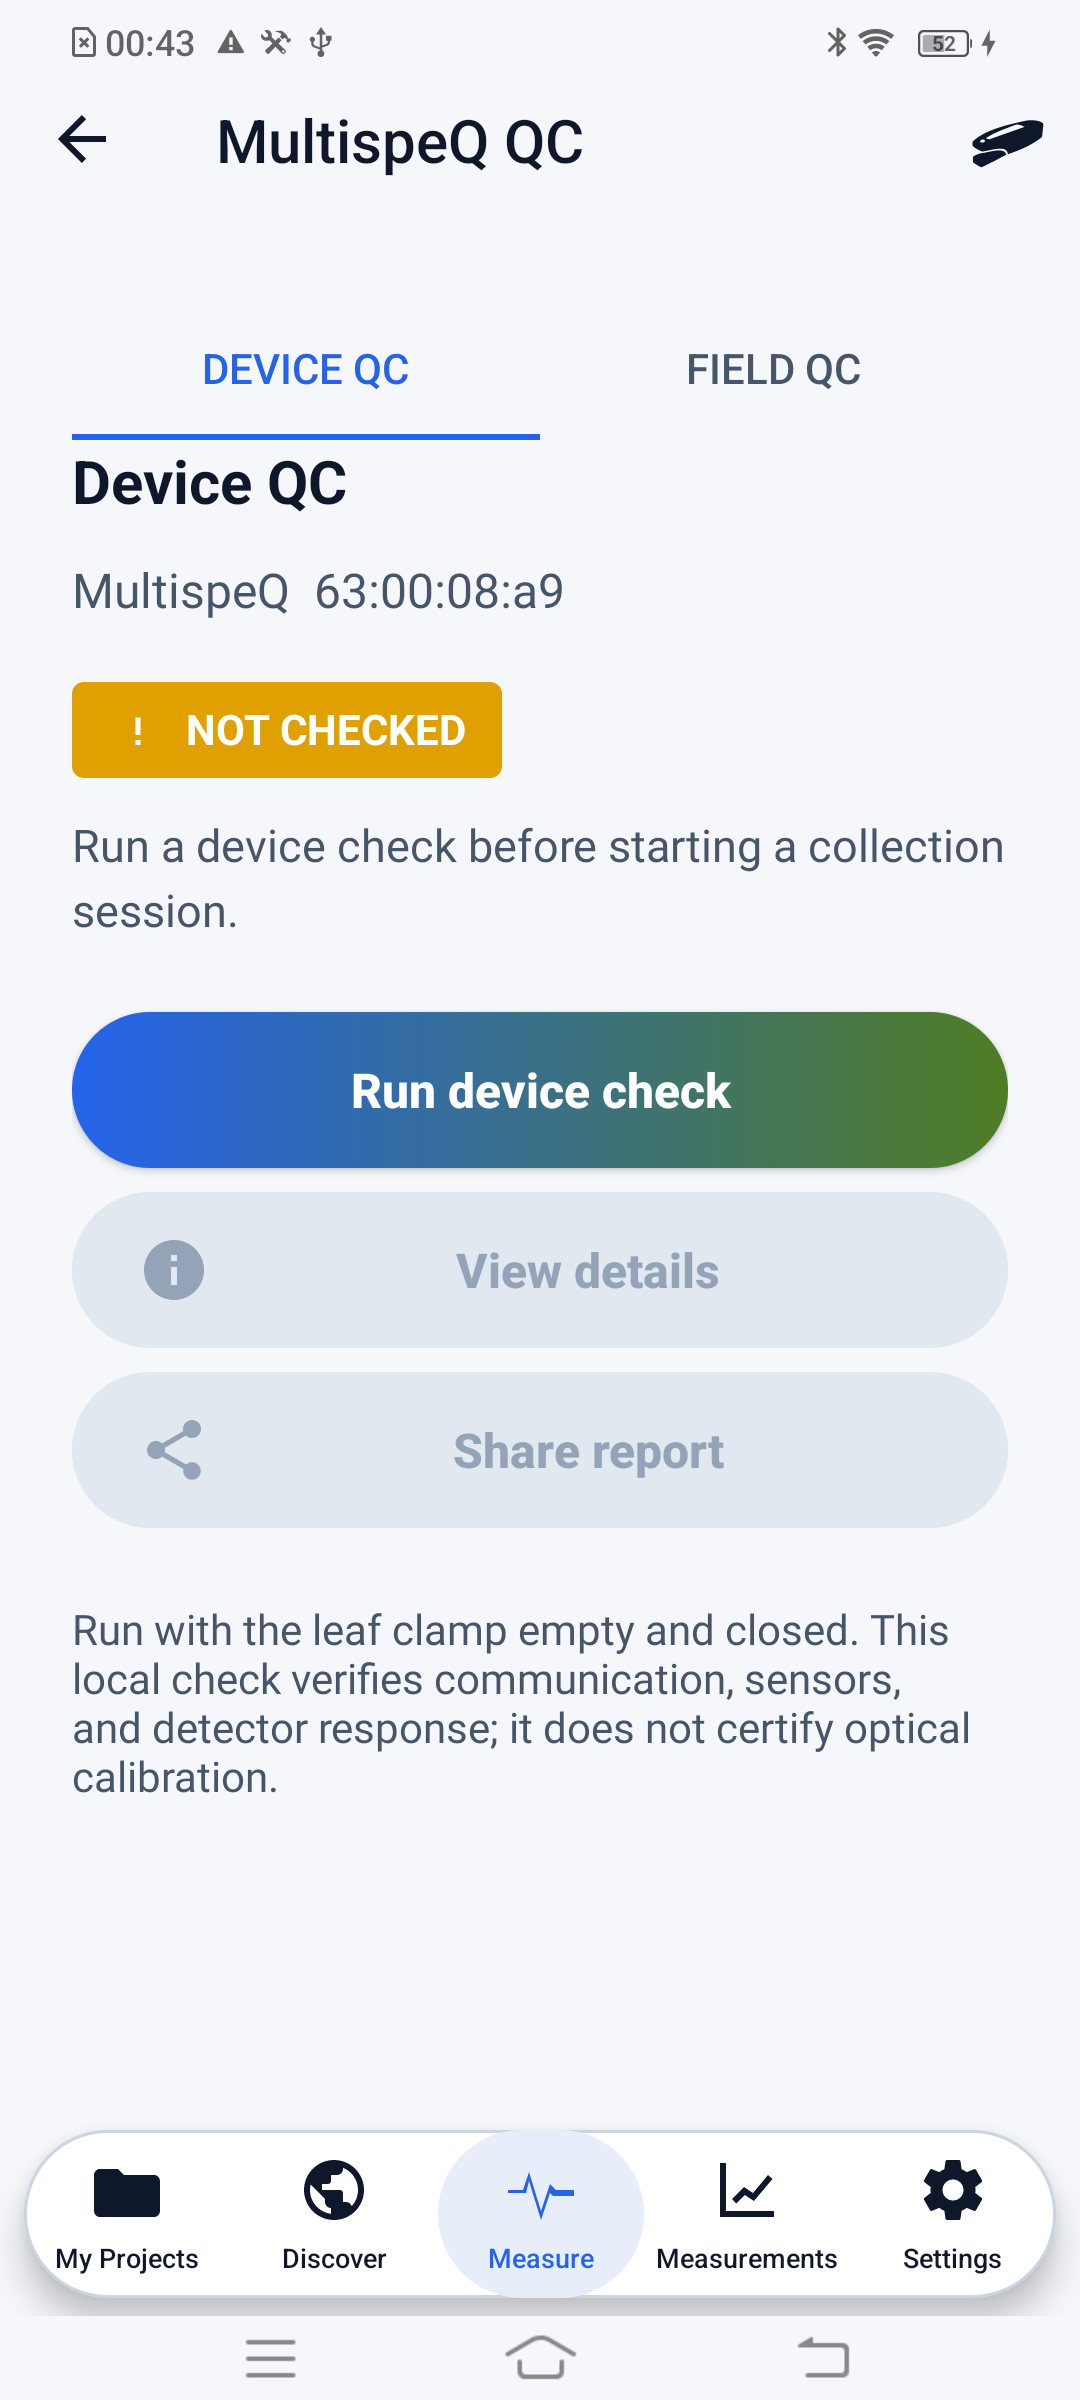
- Open Measure → Open MultispeQ QC.
- Run Device QC with an empty, fully closed clamp.
- Review warnings and device details.
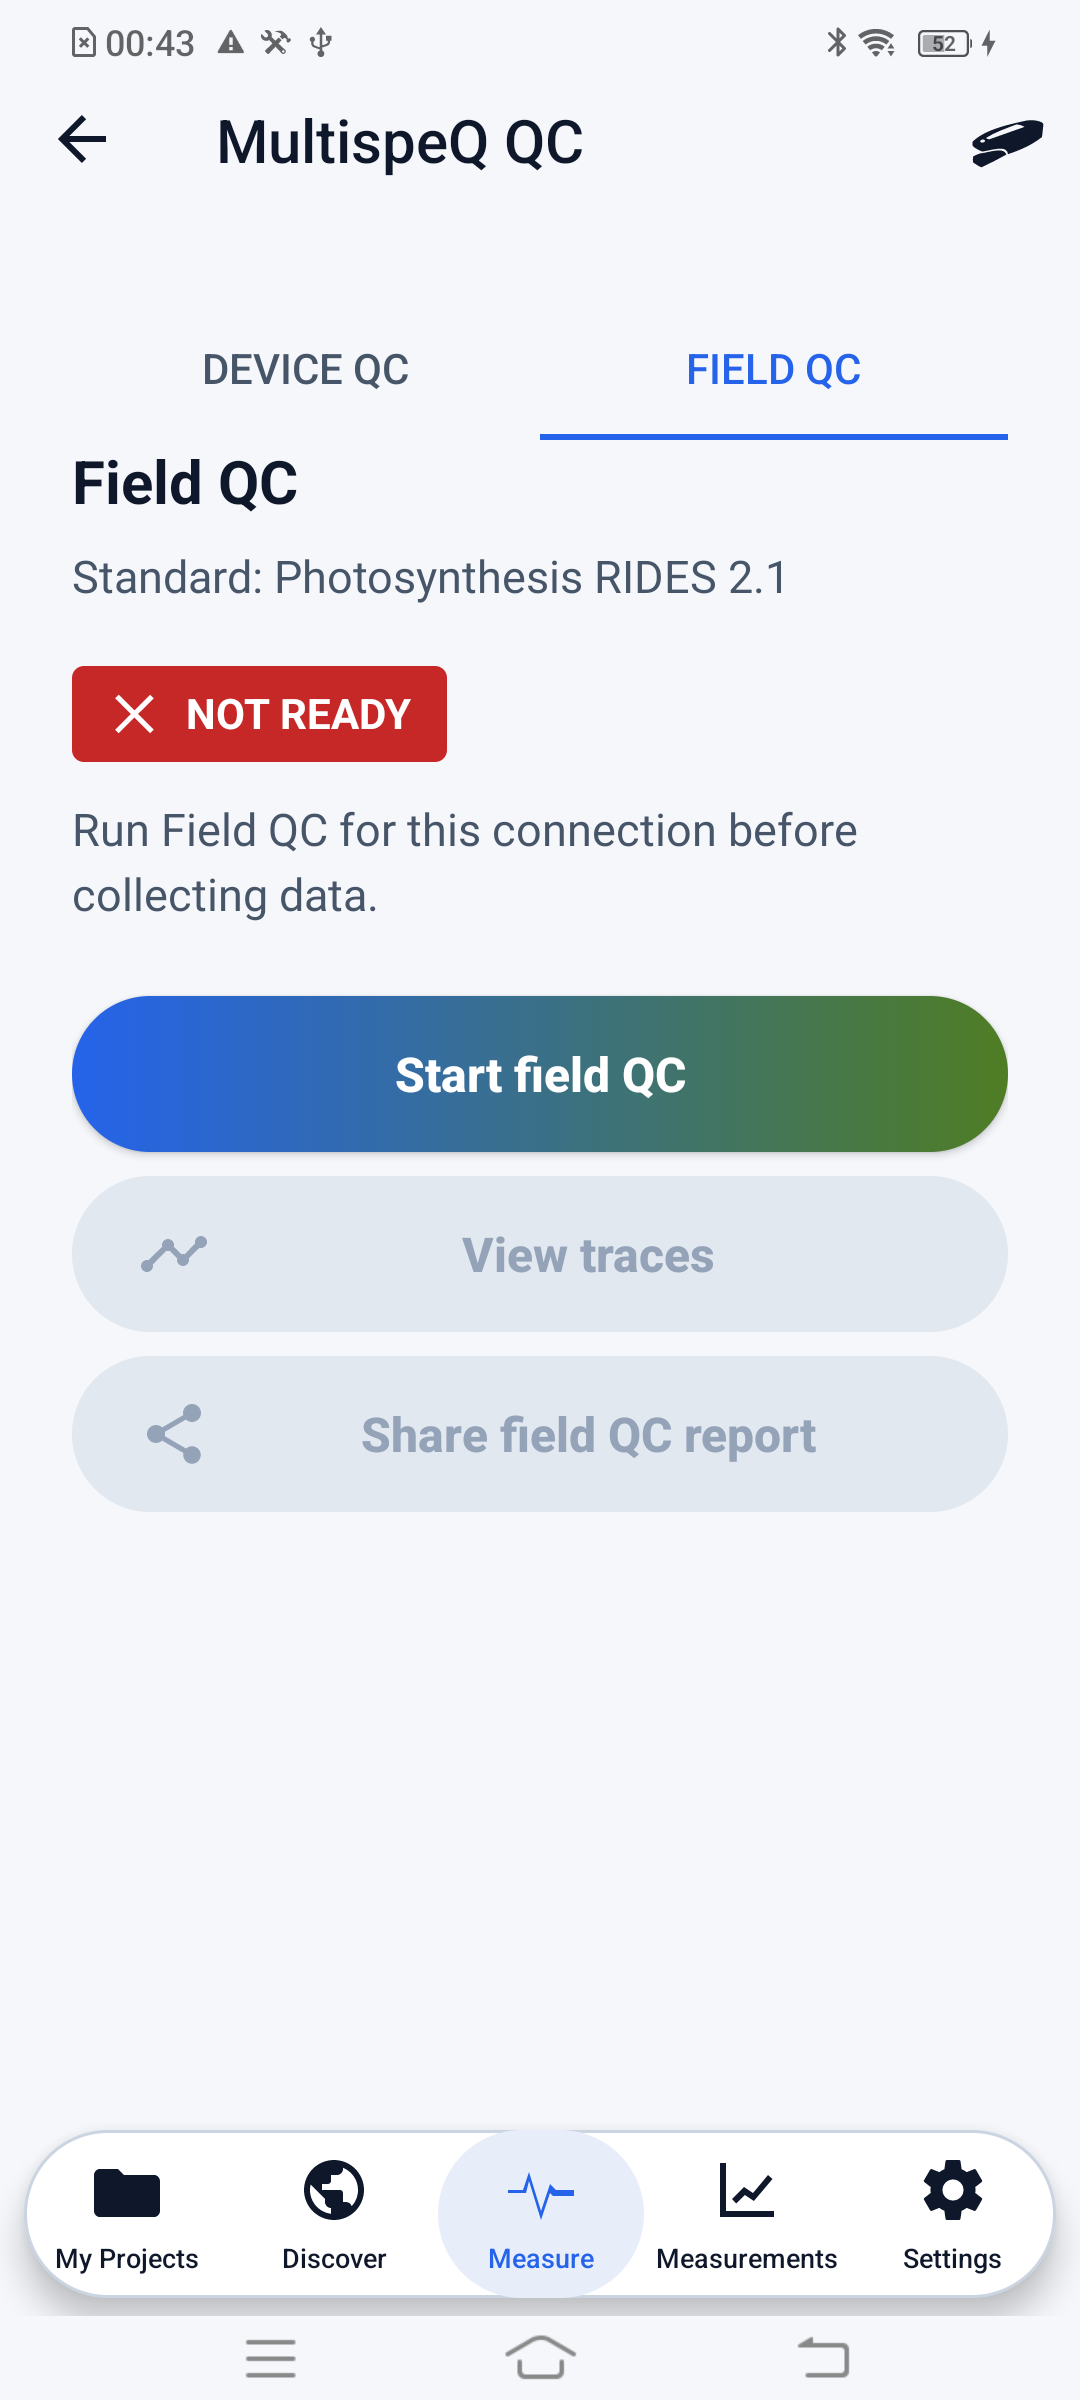
- Run Field QC using three representative healthy leaves.
- Confirm the Field QC status is Ready before collecting Project data.
| Device QC | Field QC |
|---|---|
 |  |
QC checks instrument and collection readiness. It does not determine the final experimental sample size or guarantee that every collected measurement is scientifically valid. See MultispeQ QC.
# 6. Select the Project
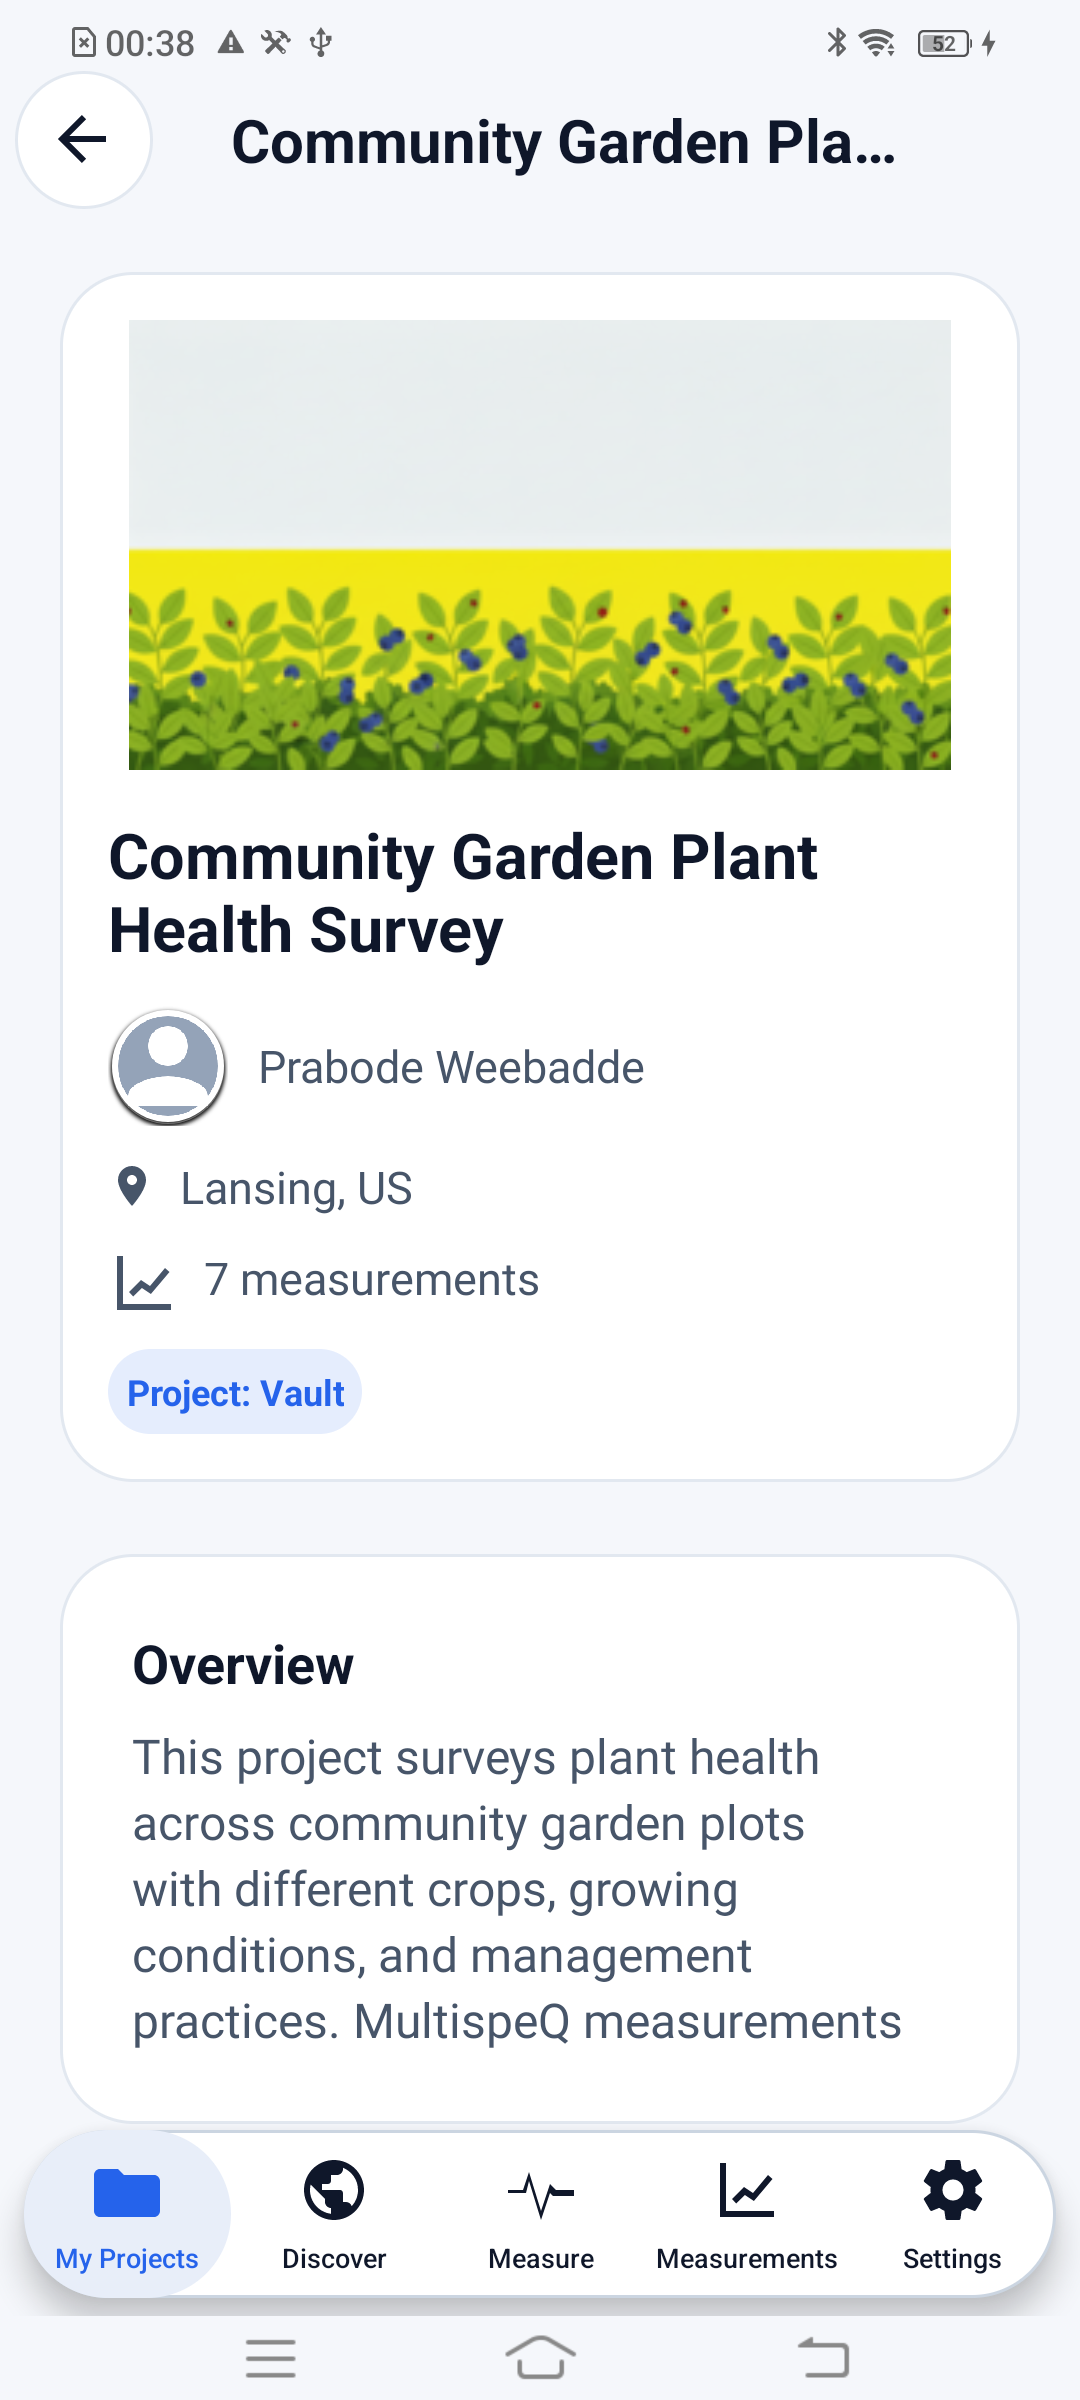
- Open My Projects in the bottom navigation.
- Pull down to refresh joined Projects.
- Select the intended Project.
- Review its description and collection instructions.
- Select Take Measurement.
| Project Details |
|---|
 |
If the Project is missing, confirm that the signed-in user has joined it and refresh My Projects. Use Discover to find and request access to an eligible public Project; private Projects require an invitation or access from the Project owner.
# 7. Answer Questions and Take a Measurement
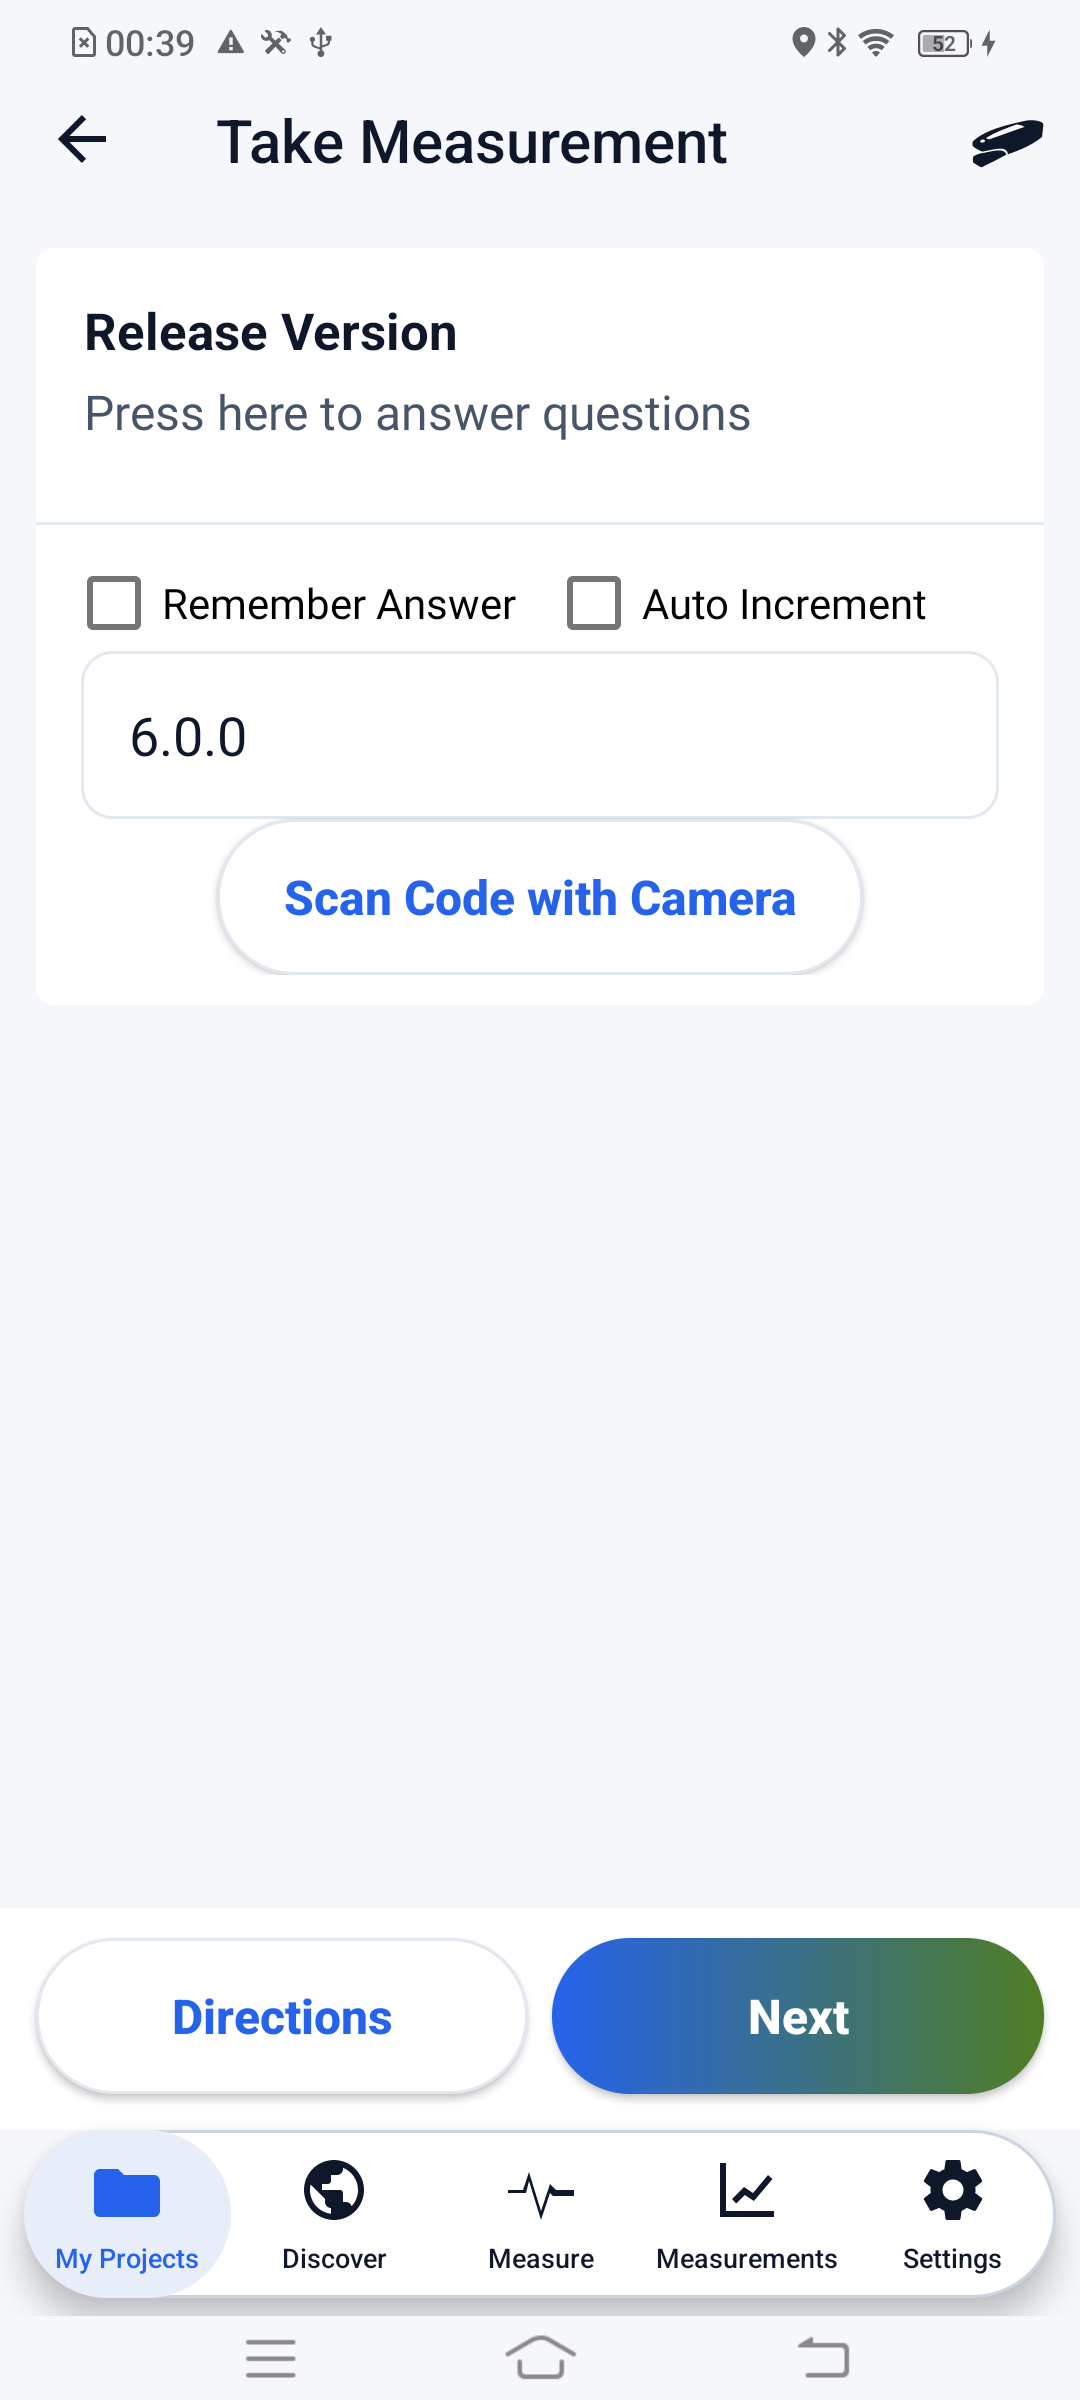
- Answer every required Project Question.
- Confirm treatment, block, replicate, sample, and other identifiers before measuring.
- Position the leaf as required by the Protocol without changing its natural angle or shading the PAR sensor.
- Select Take Measurement.
- Keep the leaf and MultispeQ steady until the measurement finishes.
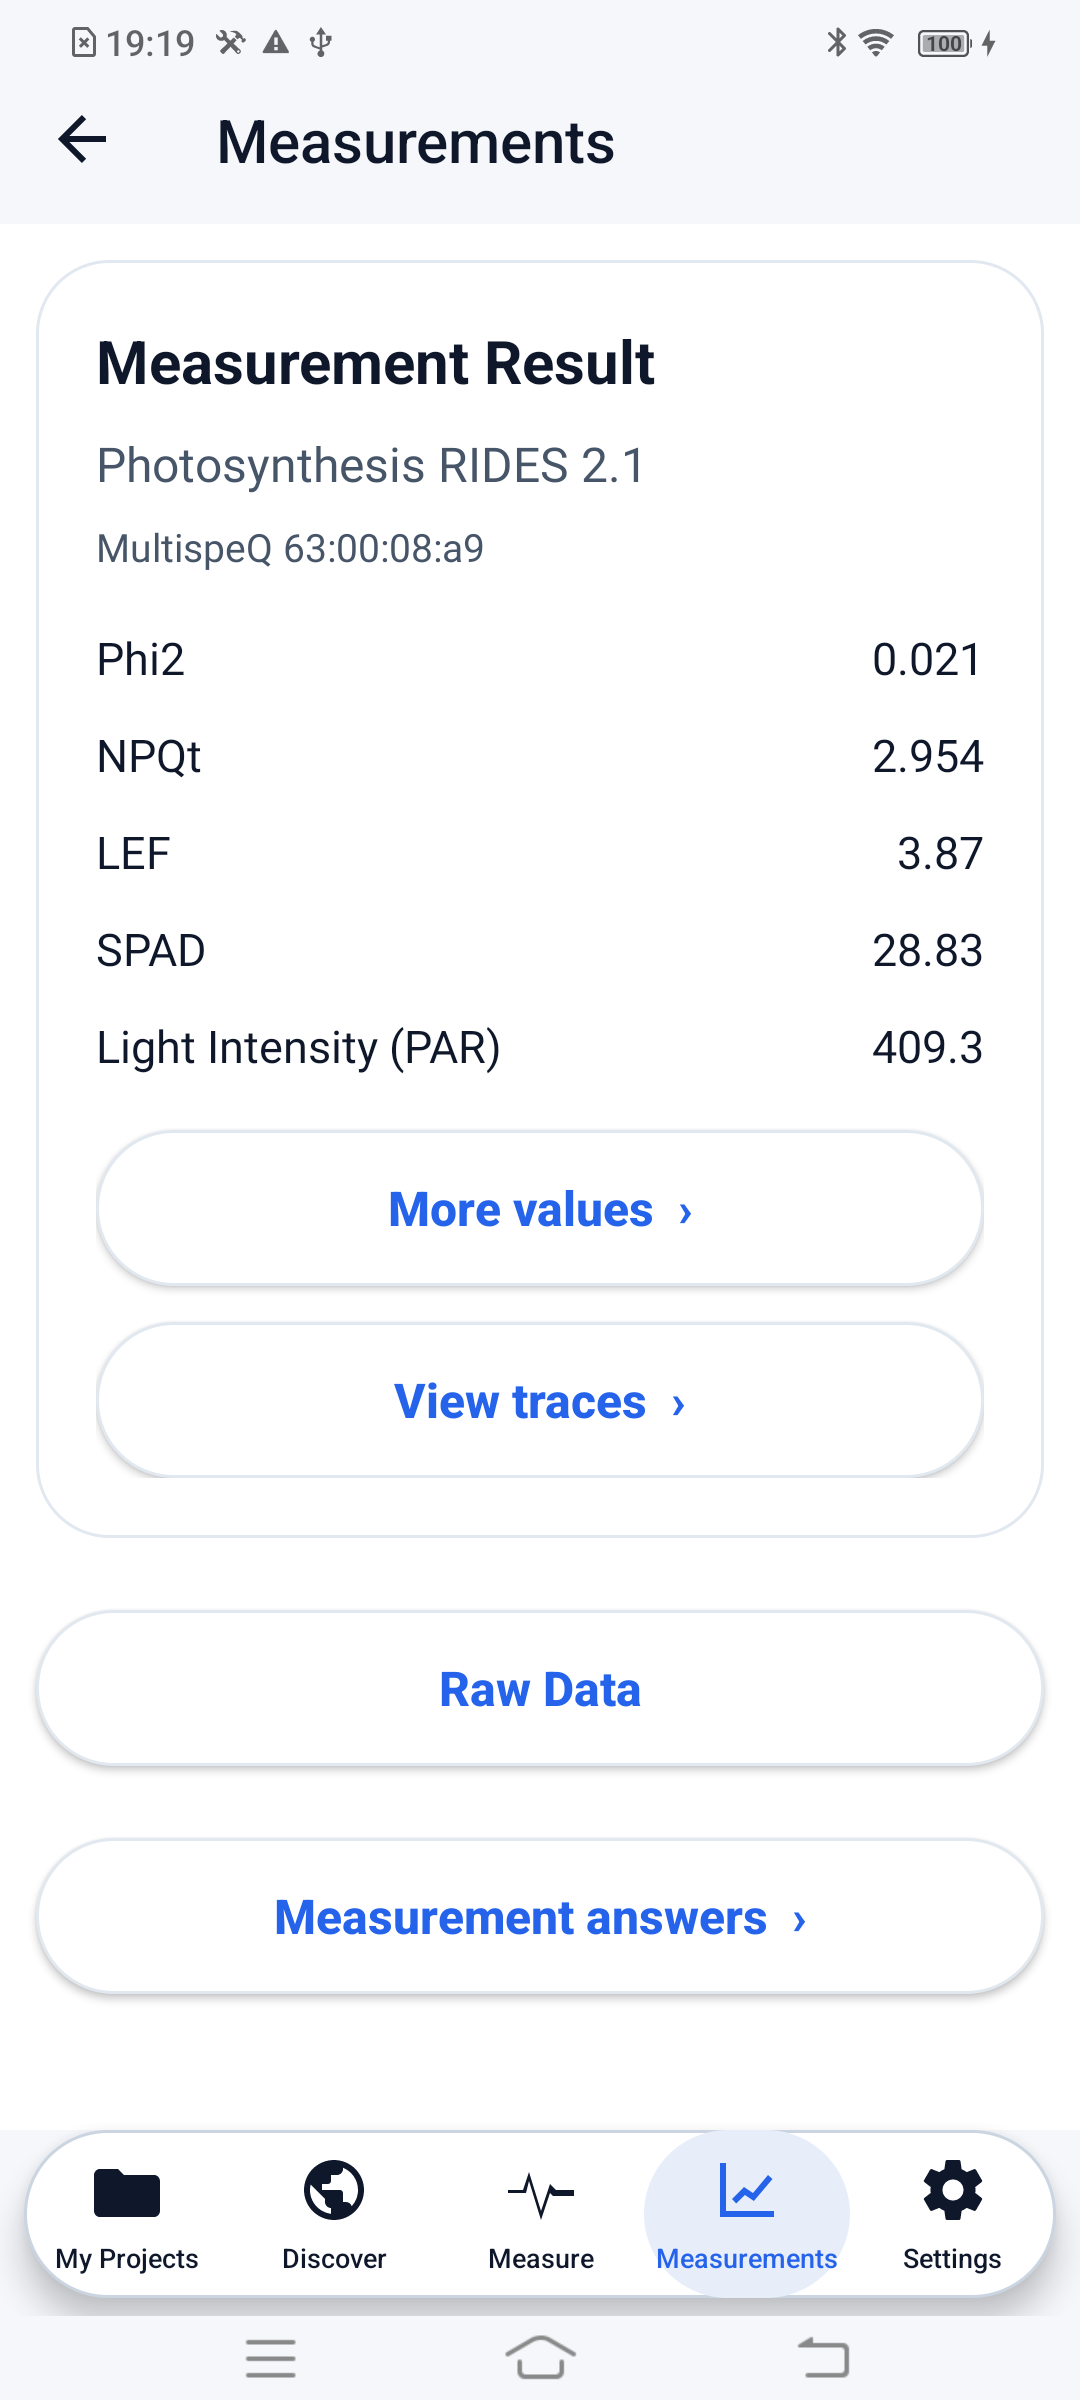
- Review warnings and results.
- Select Accept and Save to keep the measurement, Retake Measurement to repeat it, or Discard Reading to reject it.
| Project Questions | Compact Result Example |
|---|---|
 |  |
Multiple readings from the same leaf or plant are technical replicates unless the study design defines otherwise. They should not automatically be counted as independent biological observations.
# 8. Upload and Confirm the Measurement
- Open Measurements.
- Confirm that the accepted measurement is listed.
- Select Upload All, or open the pending measurement and use its upload action.
- Wait for the uploaded cloud/check status.
- Confirm that the measurement appears in the Project's online data view before deleting any local copy.
The Measurements tab lists both Project measurements and local Quick Measurements. Confirm the uploaded cloud/check status for the correct Project record before deleting a local copy. Quick Measurements do not upload to a Project.
Before leaving the field, compare the expected and actual measurement counts and investigate missing, duplicate, mislabeled, pending, or warning-bearing measurements. See Measurements.
# 9. Explore Project Data
For the best experience exploring Project data, we recommend the PhotosynQ Desktop application.
- Sign in to PhotosynQ Desktop and open Projects.
- Select the Project under My Projects.
- Select Explore Project Data and wait for the data to load.
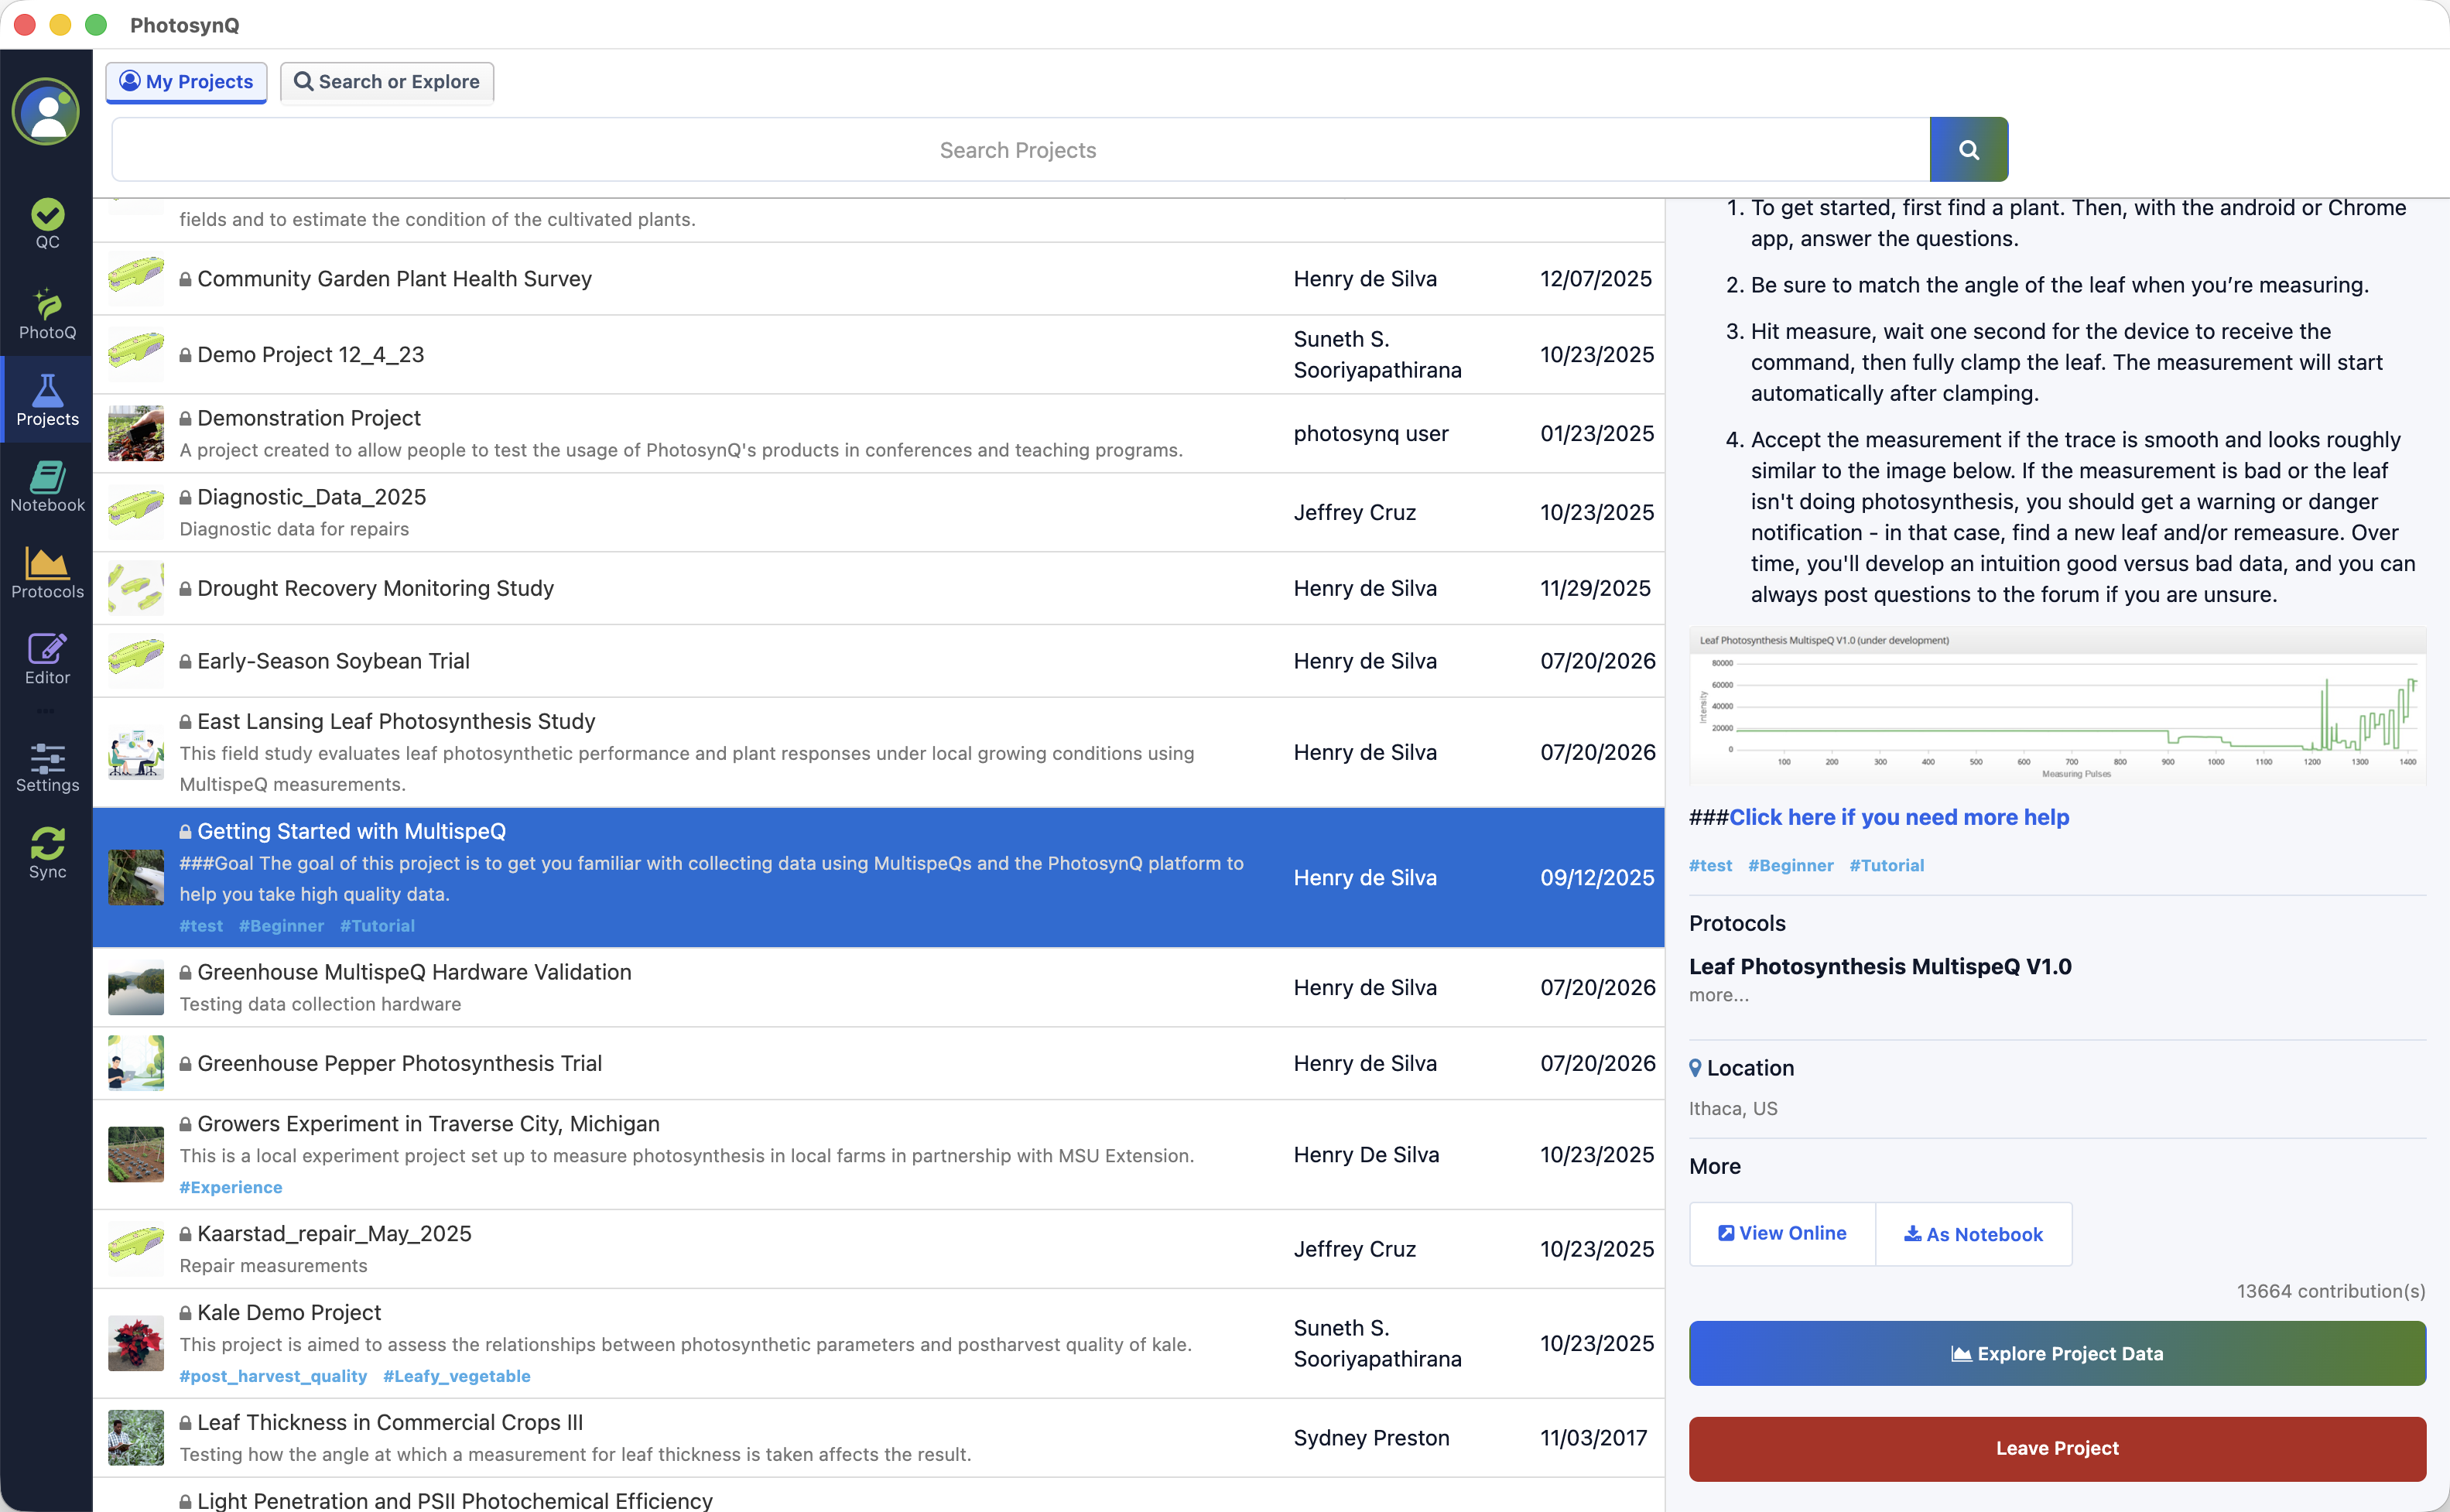
The web option remains available: open the Project on the PhotosynQ website and select View Data. Use the Data Explorer to:
- Review measurement counts and individual records
- Filter Project Question answers into comparable series
- Plot parameters and inspect distributions
- Review measurement locations on the map
- Inspect warnings, notes, pictures, values, and traces
- Flag measurements according to the study's documented quality rules
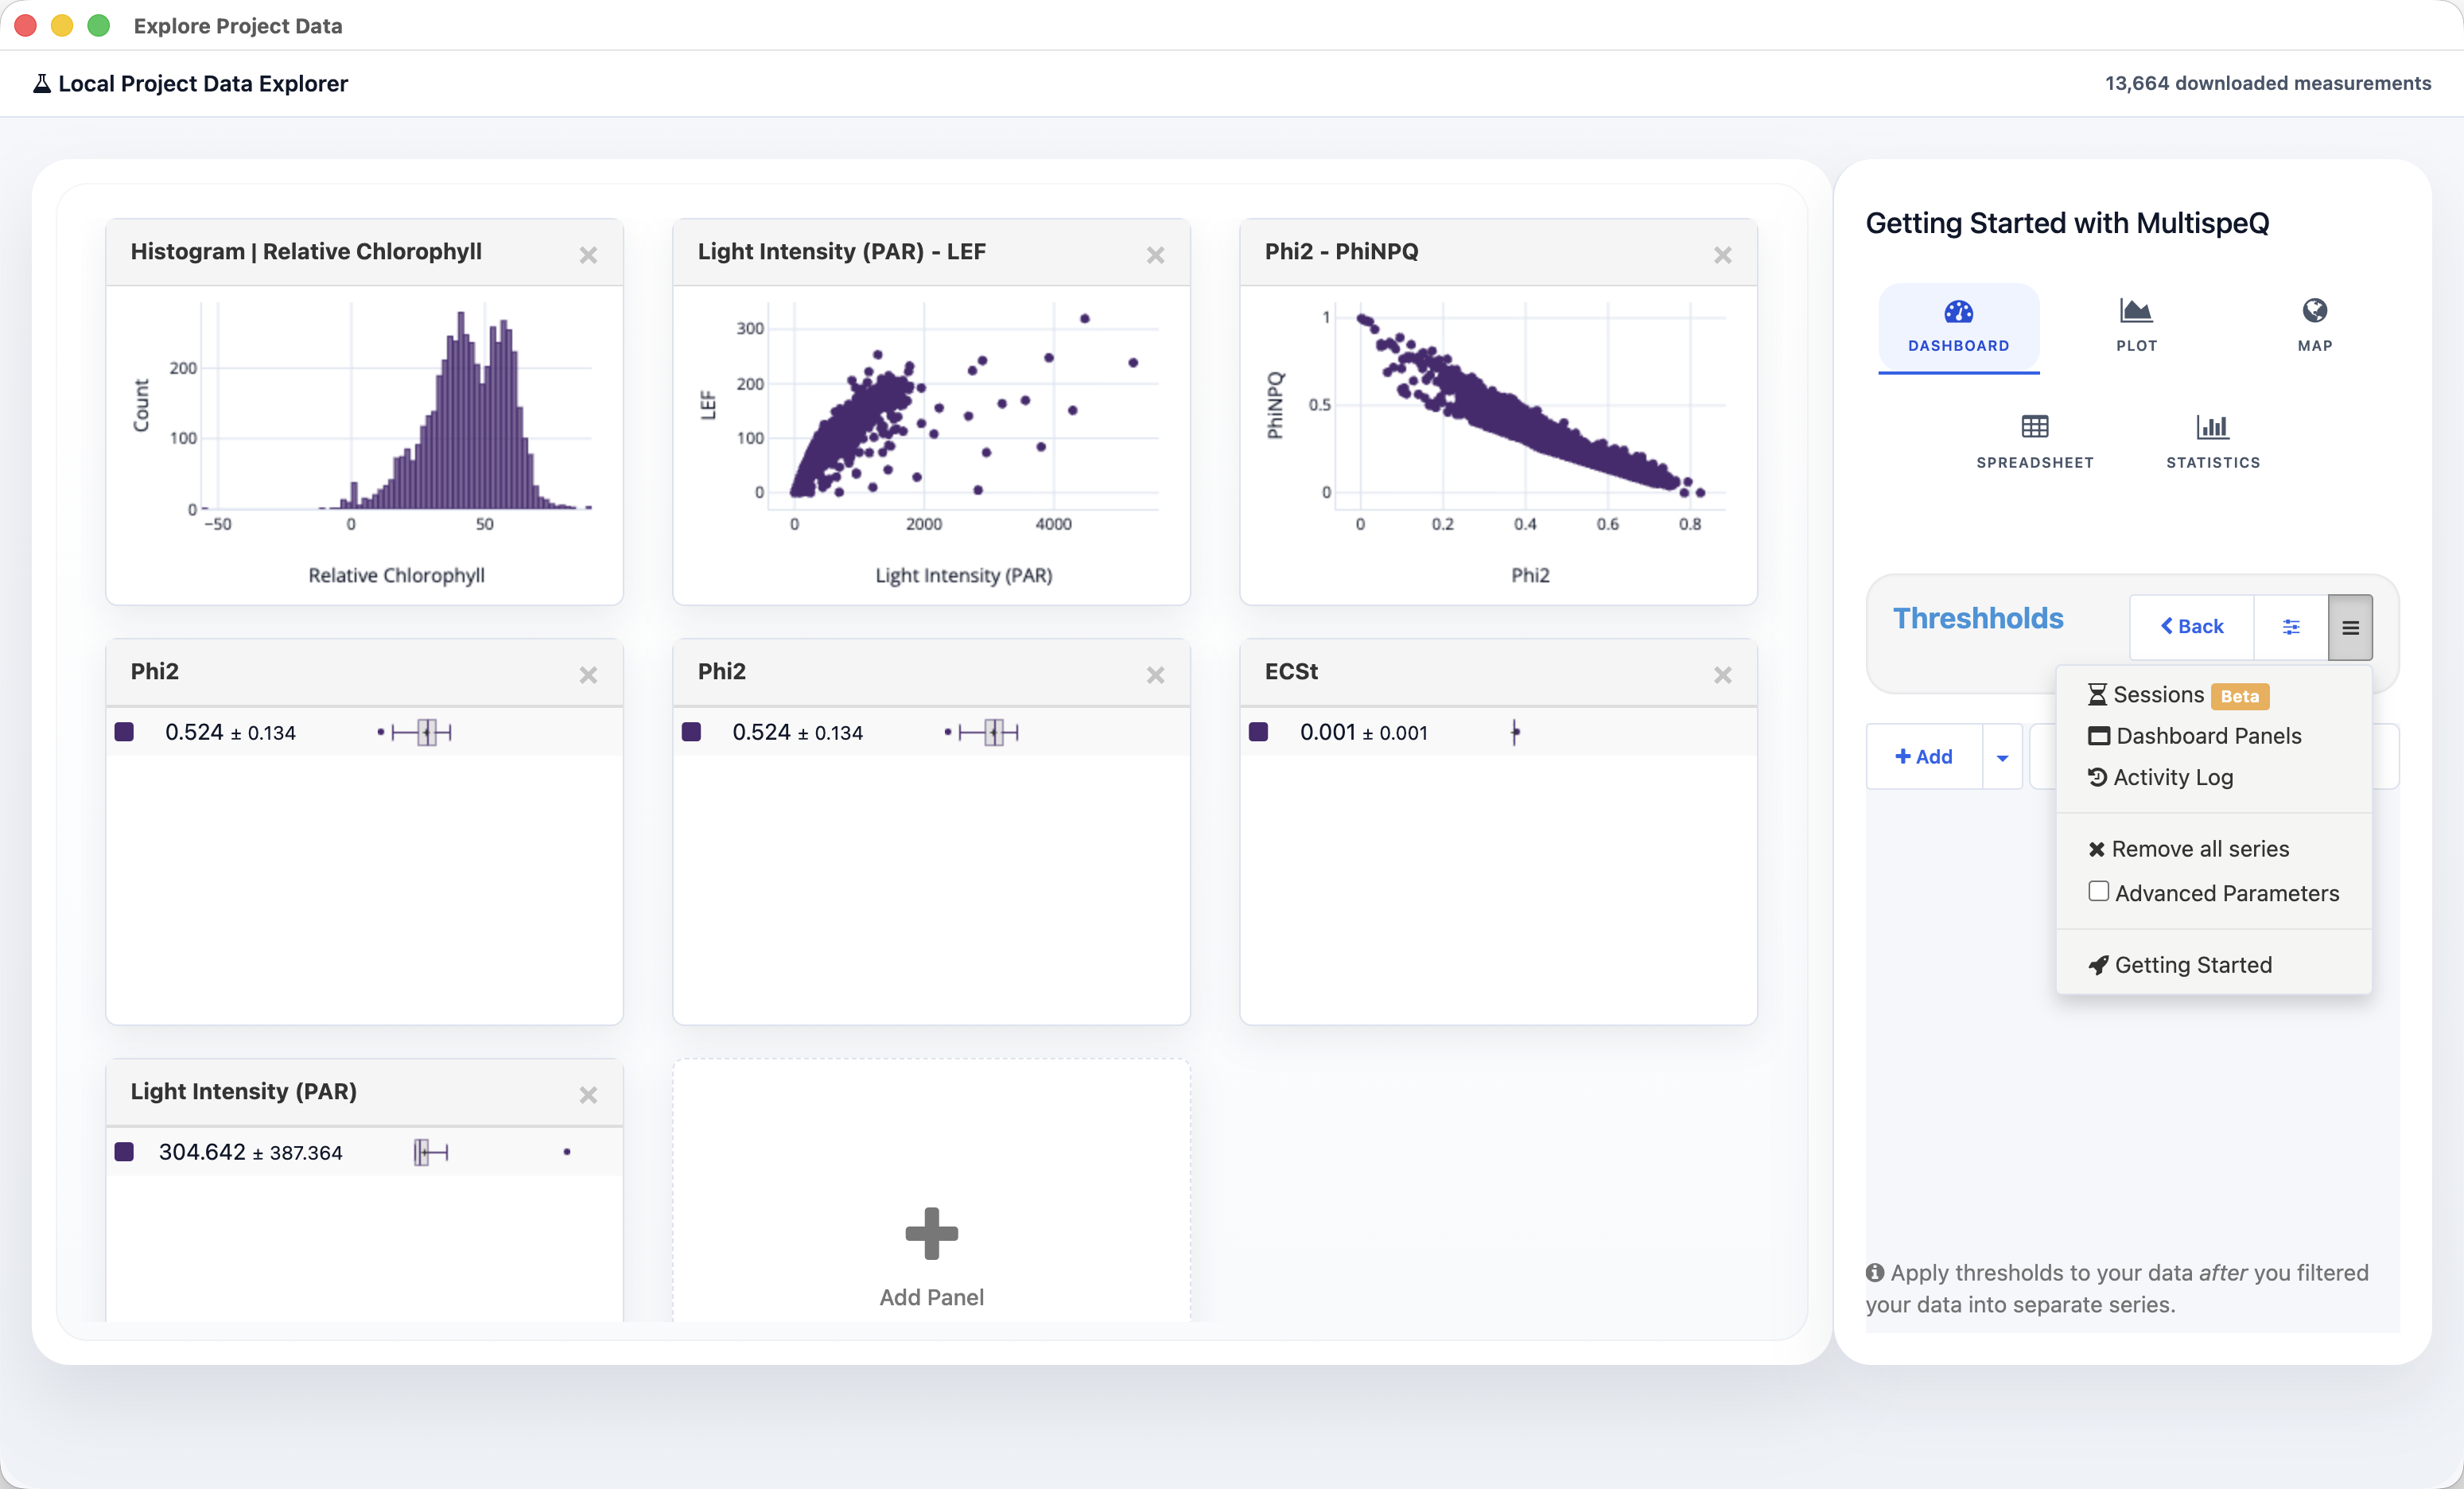
Start by checking identifiers, missing values, collection times, device IDs, environmental ranges, and warning flags before comparing biological outcomes.
# 10. Download the Data
We also recommend PhotosynQ Desktop for downloading data. In Explore Project Data, open Spreadsheet, choose the protocol and data to include, then select Save → Comma separated (csv) or Tab separated (txt) and choose where to save the file.
You can also use the website's Project download options for XLSX or JSON, or export a selection from the web Data Explorer spreadsheet. See Download Data for the available paths. Preserve an unchanged export as the source dataset before cleaning or transforming data.
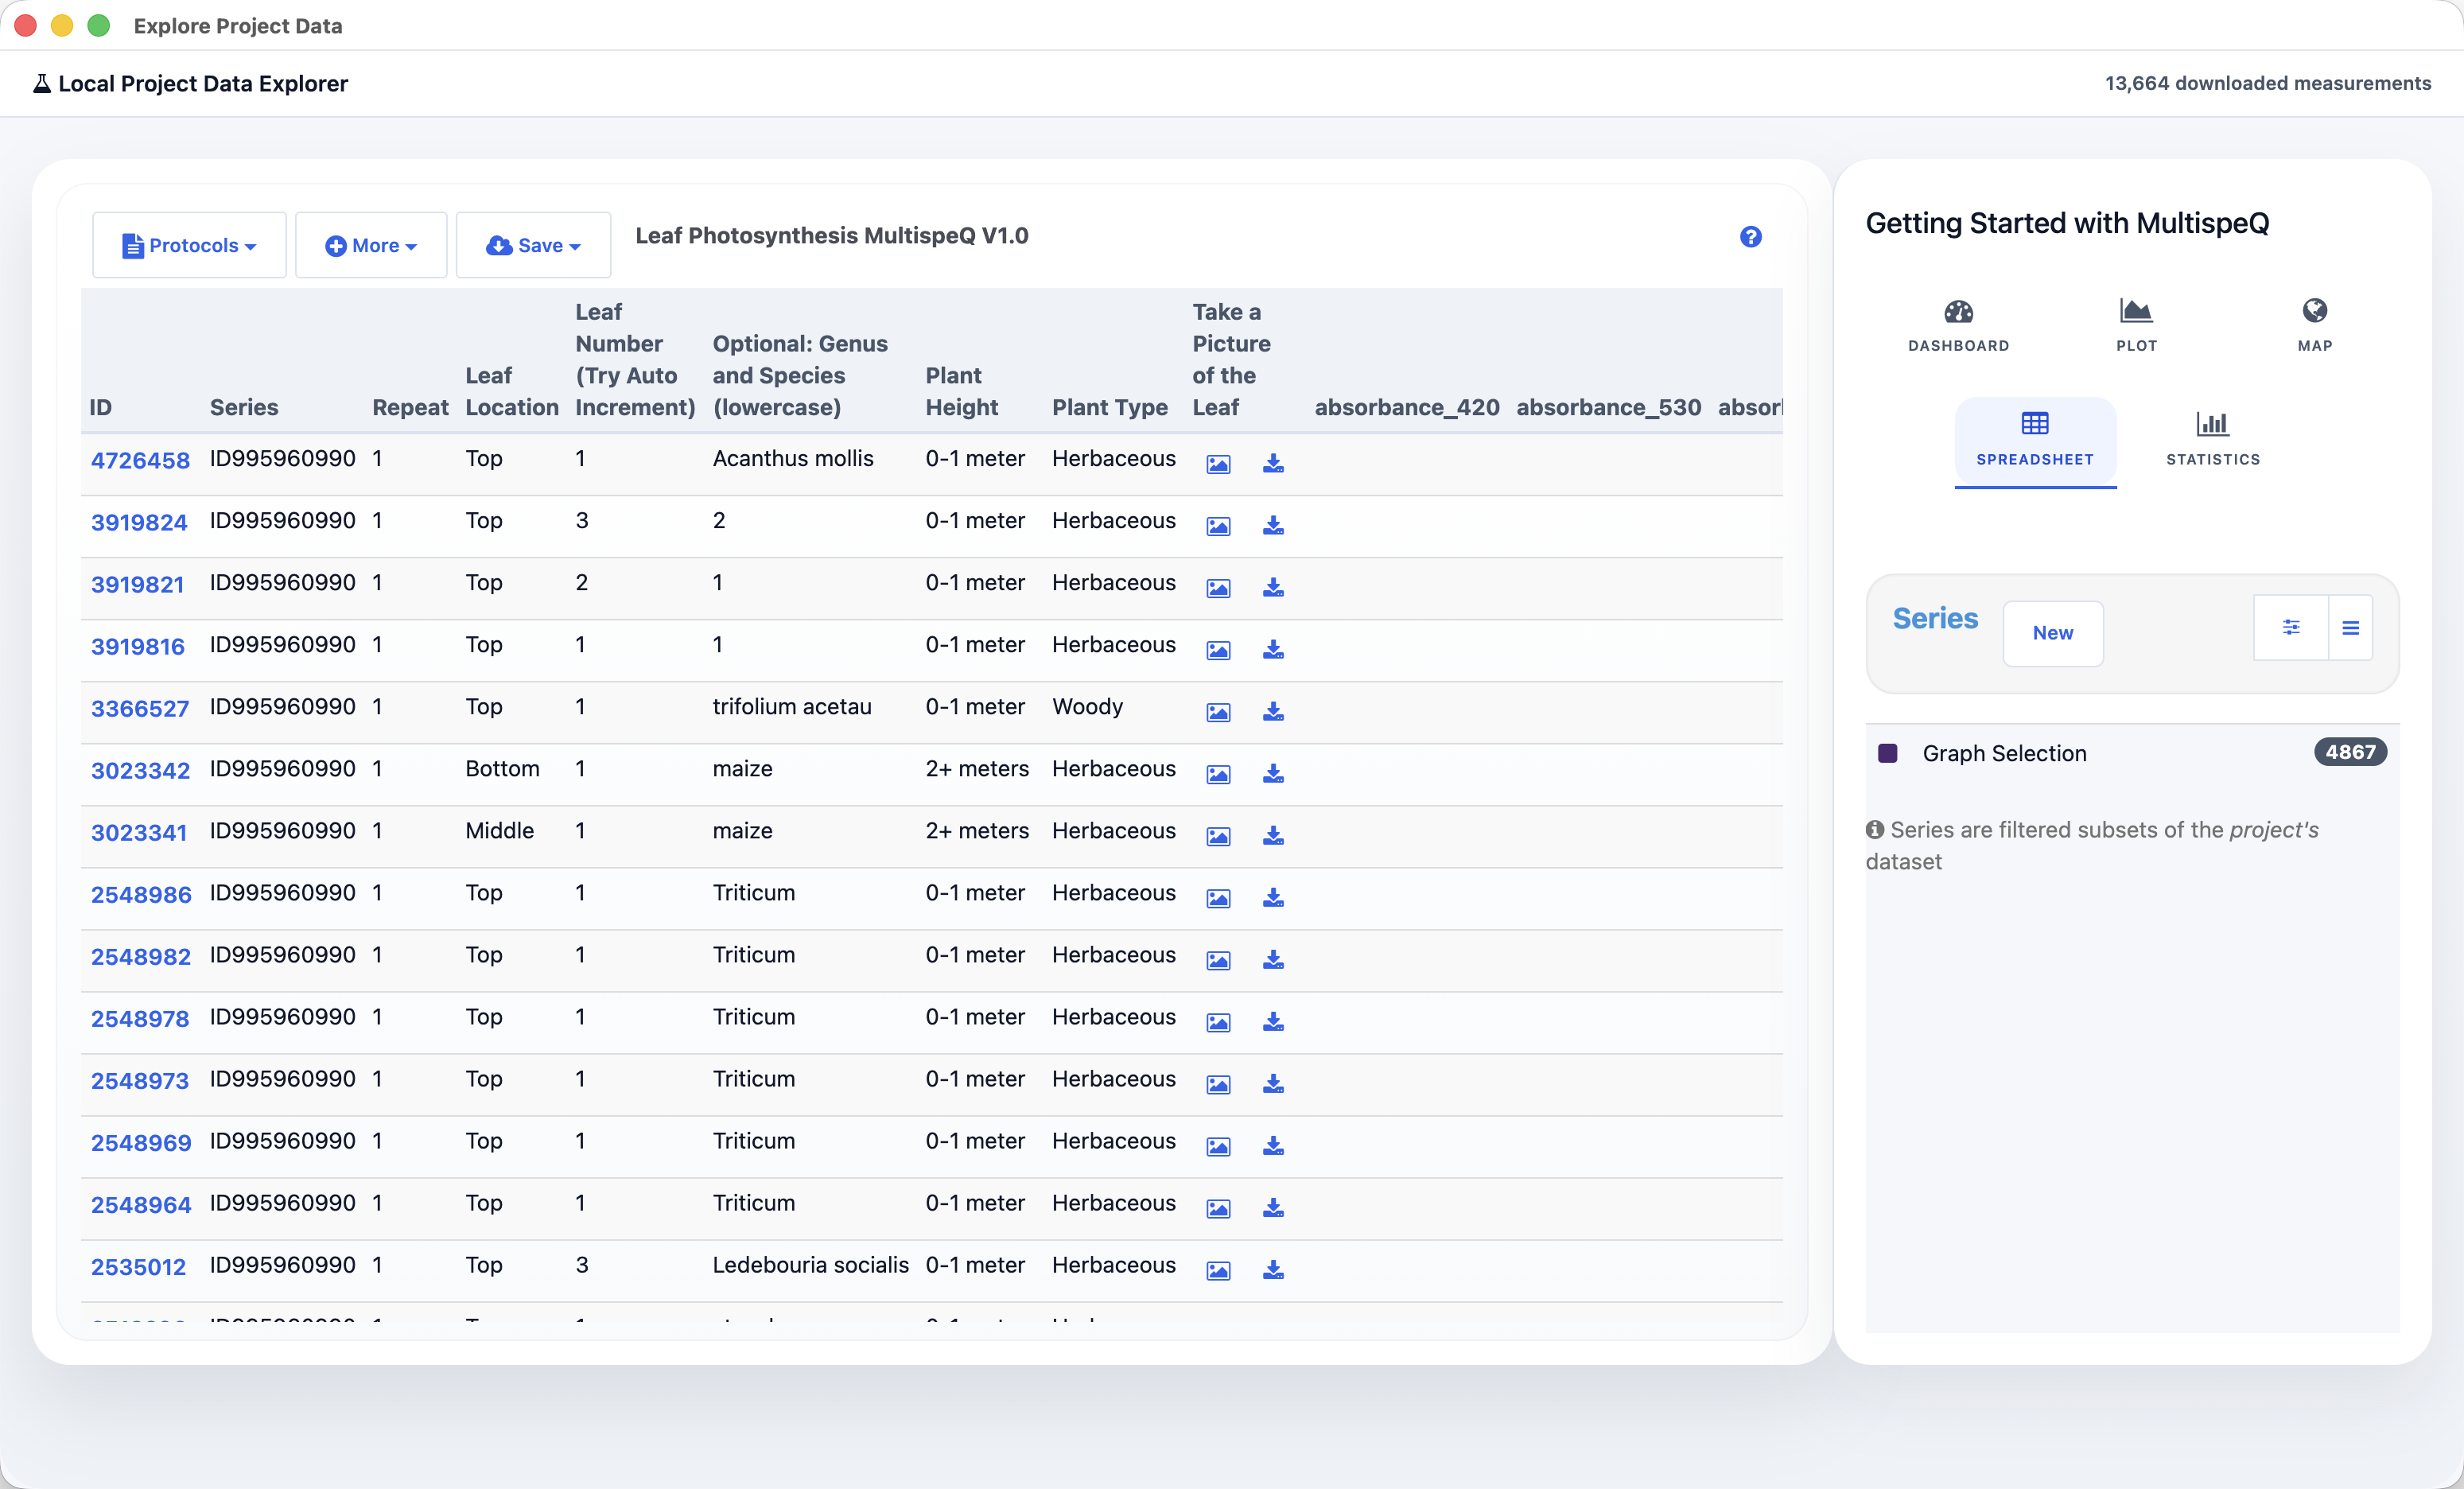
See Download Data and External Libraries for spreadsheet, JSON, Python, and R workflows.
# 11. Plan Enough Measurements
There is no universal number of MultispeQ measurements that guarantees statistical validity. The required sample size depends on the experimental unit, expected effect size, biological and environmental variability, design, number of groups, repeated measurements, missing data, and planned statistical model.
Run practice measurements to verify the app, Protocol, questions, labeling, and field procedure, but do not treat practice measurements as experimental observations. Then run a pilot study with the same experimental unit and collection conditions planned for the main study. Use its variability and the smallest scientifically meaningful effect in a formal power analysis.
The power analysis must match the planned comparison and account for blocks, repeated measurements, subsampling, spatial structure, multiple environments, and expected missing or excluded data. Consult a statistician before collection when the design is blocked, hierarchical, spatial, longitudinal, or otherwise more complex than a simple independent-group comparison.
Published MultispeQ studies illustrate how collection scale changes with the research question:
- The original MultispeQ validation included 10 measurements per device in a reproducibility comparison, 36 positions in a within-leaf replication test, and approximately 184-193 field measurements per researcher in a larger collection exercise. Kuhlgert et al. (2016) (opens new window)
- A common-bean validation study collected 1,022 MultispeQ observations using repeated measurements across accessions, replicates, and dates. Using phenomics to identify and integrate traits of interest for better-performing common beans (opens new window)
- A phosphorus and heat-stress study collected 1,680 MultispeQ measurements. Evaluating the influence of phosphorus supply (opens new window)
- A rice association study sampled five plants per accession as part of a much larger genotype-level experiment. Exploration of chlorophyll fluorescence characteristics in rice (opens new window)
These examples describe published designs; they do not establish a universal minimum. See Data Analysis for exploratory statistics and advanced R/Python workflows.
# Final Field Checklist
- Correct Project, Protocol, instrument, and account
- Device QC and Field QC completed for the connected MultispeQ
- Project Questions tested and answered consistently
- Leaf and PAR sensor positioned according to the Protocol
- Accepted measurements present in the Android Measurements list
- Pending measurements uploaded and confirmed online
- Source data exported and preserved before analysis