
# Create a New Project
PhotosynQ stores measurements, protocols, questions, locations, collaborators, and access settings in Projects. Creating a Project starts a draft and opens a five-step builder:
- About
- Protocols
- Questions
- Locations
- Settings
# Plan the study first
The builder organizes data collection, but it does not replace an experimental plan. Before creating the Project, document:
- the research question and primary outcomes;
- the experimental unit, treatments, controls, replication, and any randomization or blocking;
- which leaves or samples will be measured, at what developmental stage, and at what times;
- environmental or management variables needed to interpret the measurements;
- the exact protocol and compatible instrument model;
- consistent names and allowed values for identifiers such as plot, treatment, genotype, replicate, and leaf position.
Run a small pilot with the same instrument, protocol, questions, and field procedure planned for the study. Confirm that collectors interpret every question consistently, required metadata is captured, measurements pass quality checks, and pending data can be synchronized before beginning the full campaign.
# Start from the dashboard
- Sign in and open Your Dashboard.
- Under Quick actions, select New Project.
- PhotosynQ creates a draft and opens Project About.
The draft is not available for normal data collection until the final Settings step is completed. Use Delete Draft if the draft should not be retained.
# 1. About
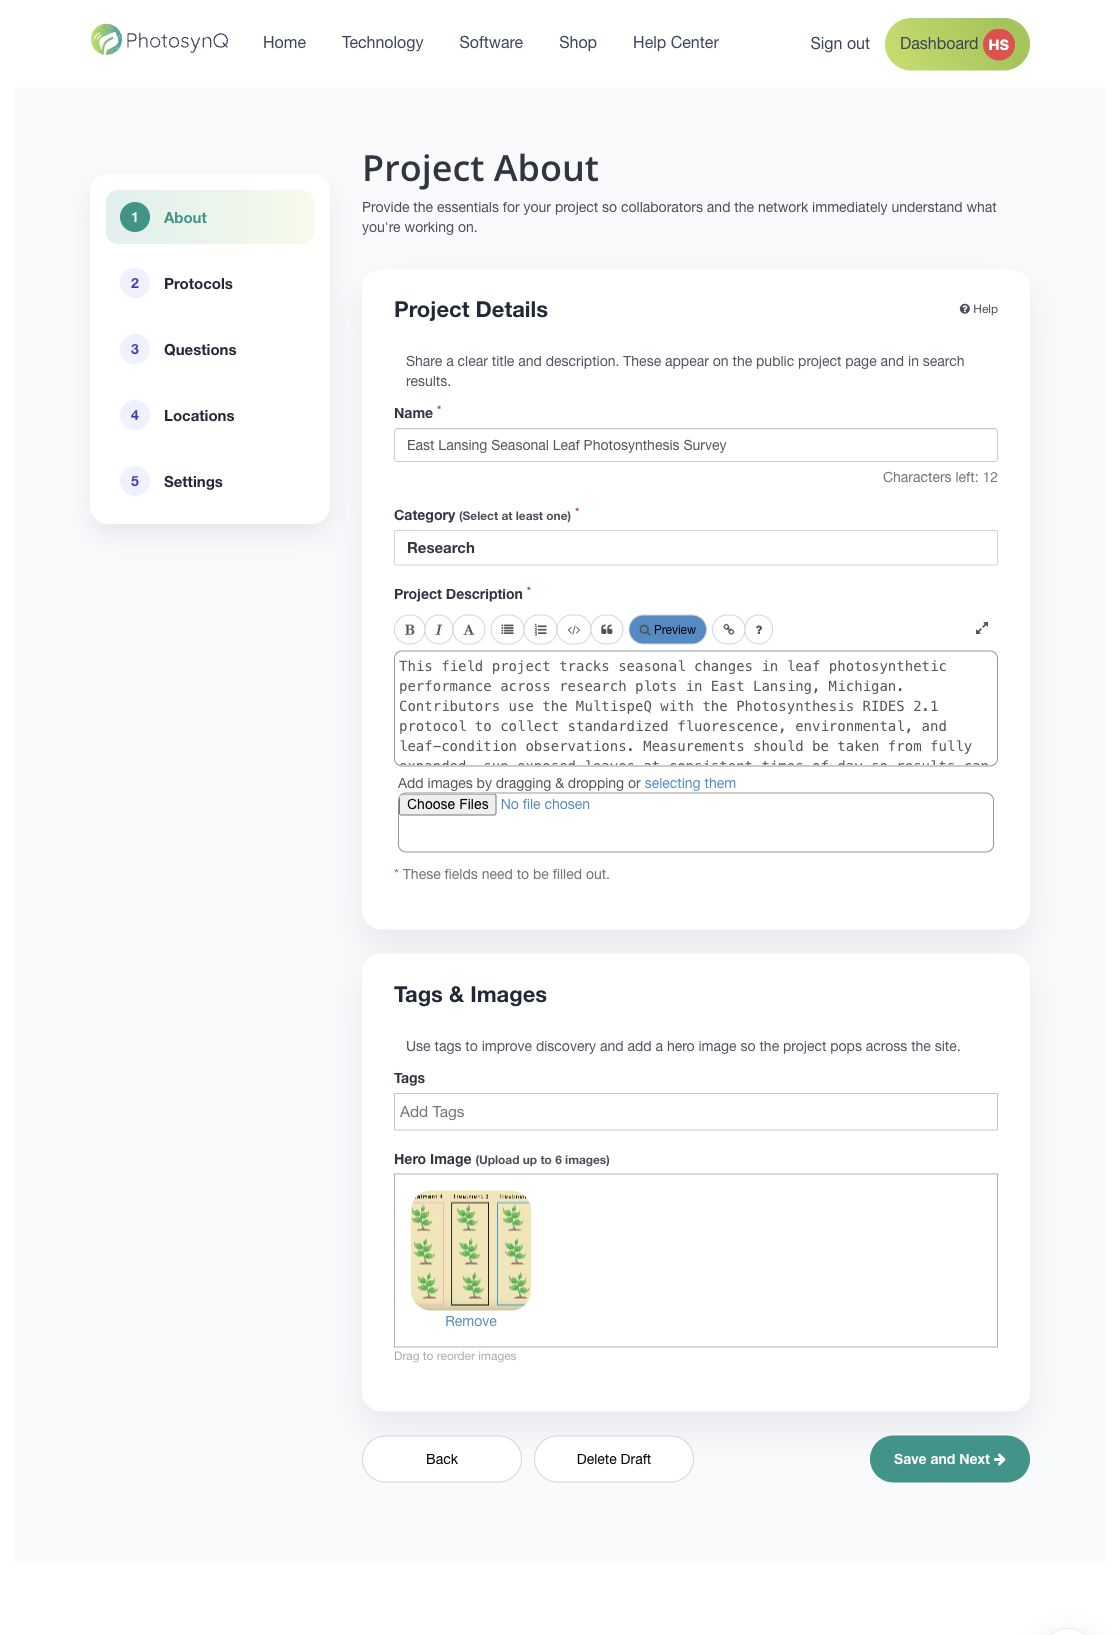
- Enter a clear Project Name of no more than 60 characters.
- Select at least one Category.
- Add the required Project Description.
- Optionally add tags and upload or reorder up to six Project images.
- Select Save and Next.
The title, categories, description, tags, and hero image help collaborators identify the Project in the website and apps.
# 2. Protocols
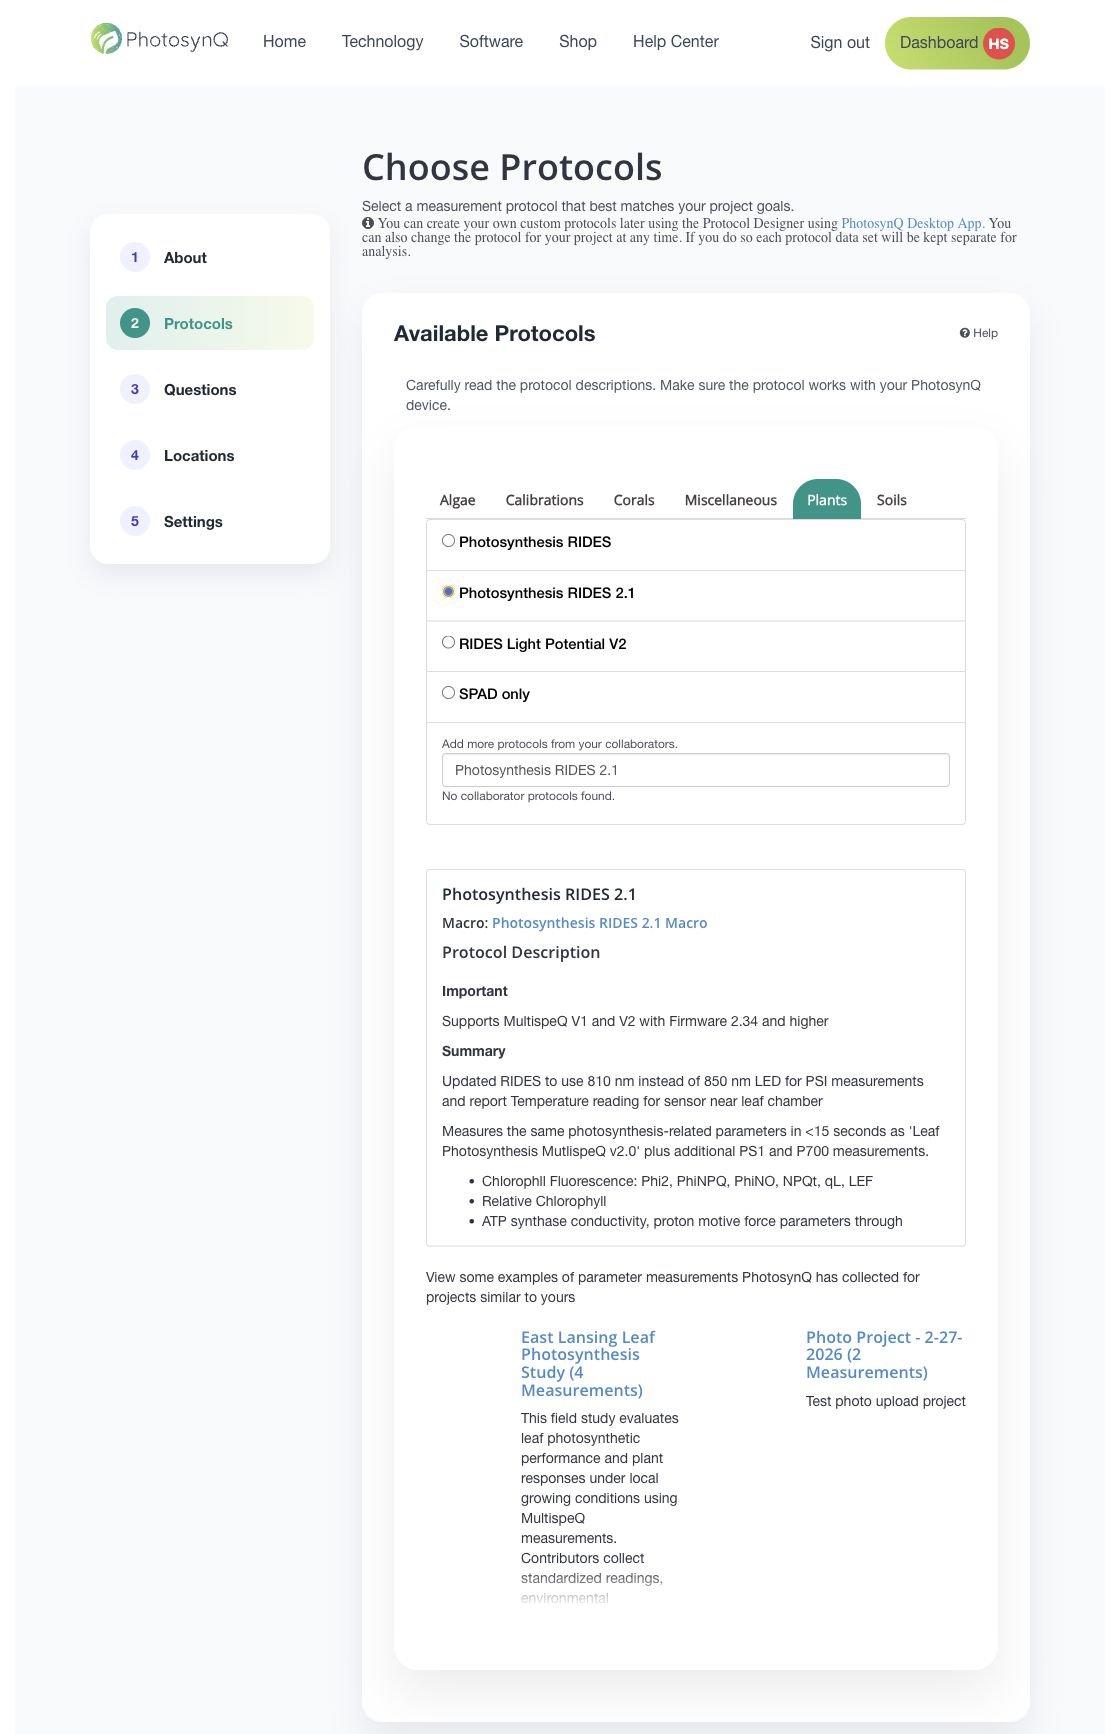
- Select a protocol category tab.
- Select the measurement protocol that matches the Project goals and instrument.
- Read the protocol description and confirm that it supports the instrument used by the Project.
- Use collaborator protocol search if the required protocol is not in the initial list.
- Select Save and Next.
Read the protocol description carefully and confirm that it supports the intended MultispeQ model and scientific method. See Select a Protocol.
# 3. Questions
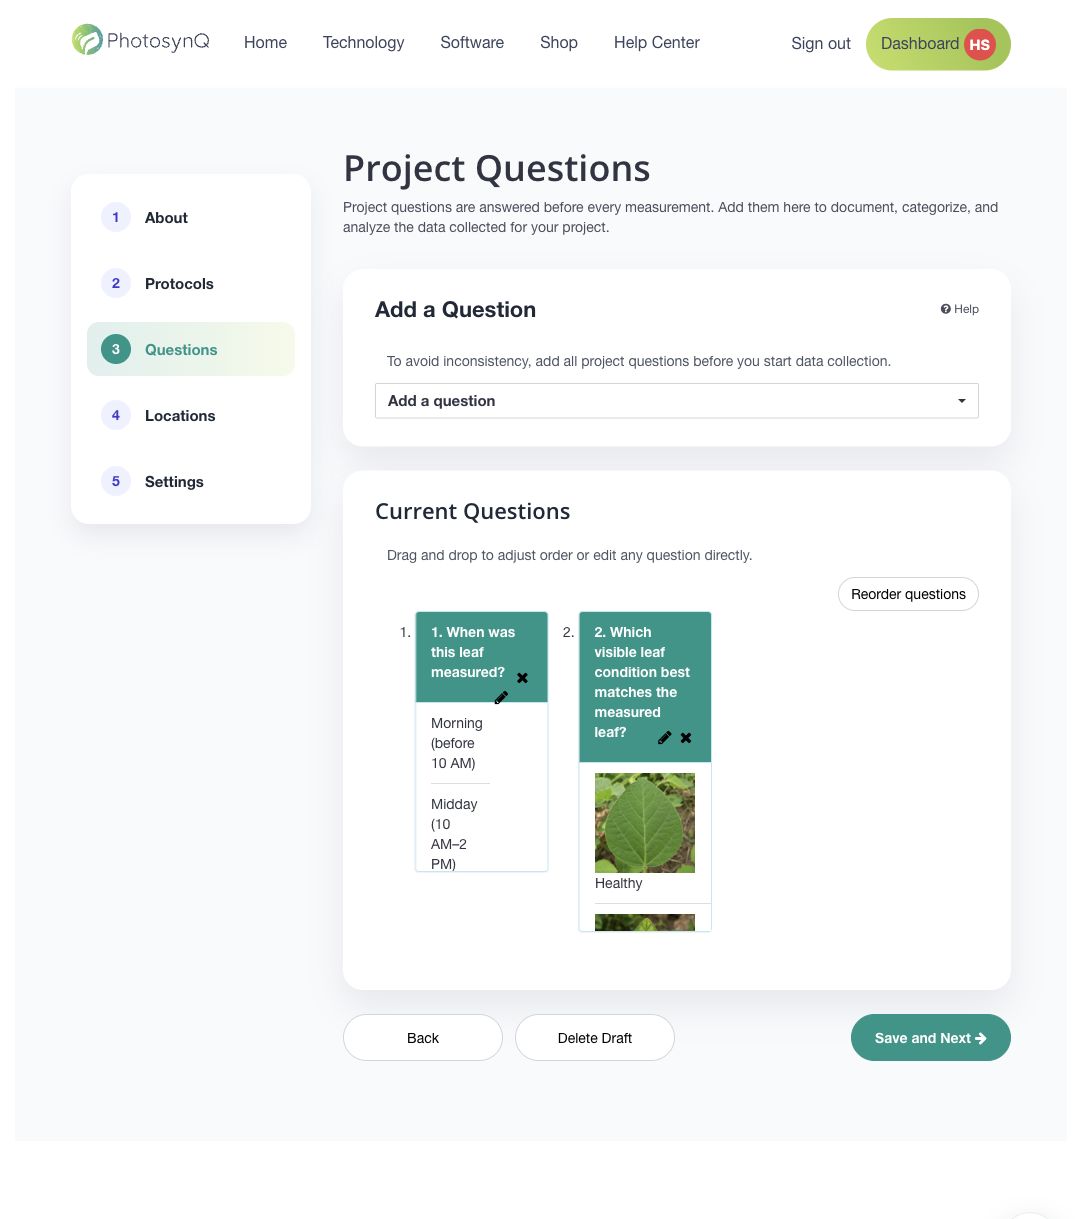
Add the questions that contributors answer for every measurement. Available types include multiple choice, short answer, multiple choice with images, and take a picture. Reorder the questions into the sequence collectors should follow, then select Save and Next.
Prefer controlled multiple-choice answers for variables used to group or filter results. Use short answers only when the possible values cannot be defined in advance; differences in spelling, capitalization, or units can create separate categories during analysis. Include units in numeric question labels, for example Plant height (cm).
See Project Questions for question-specific guidance.
# 4. Locations
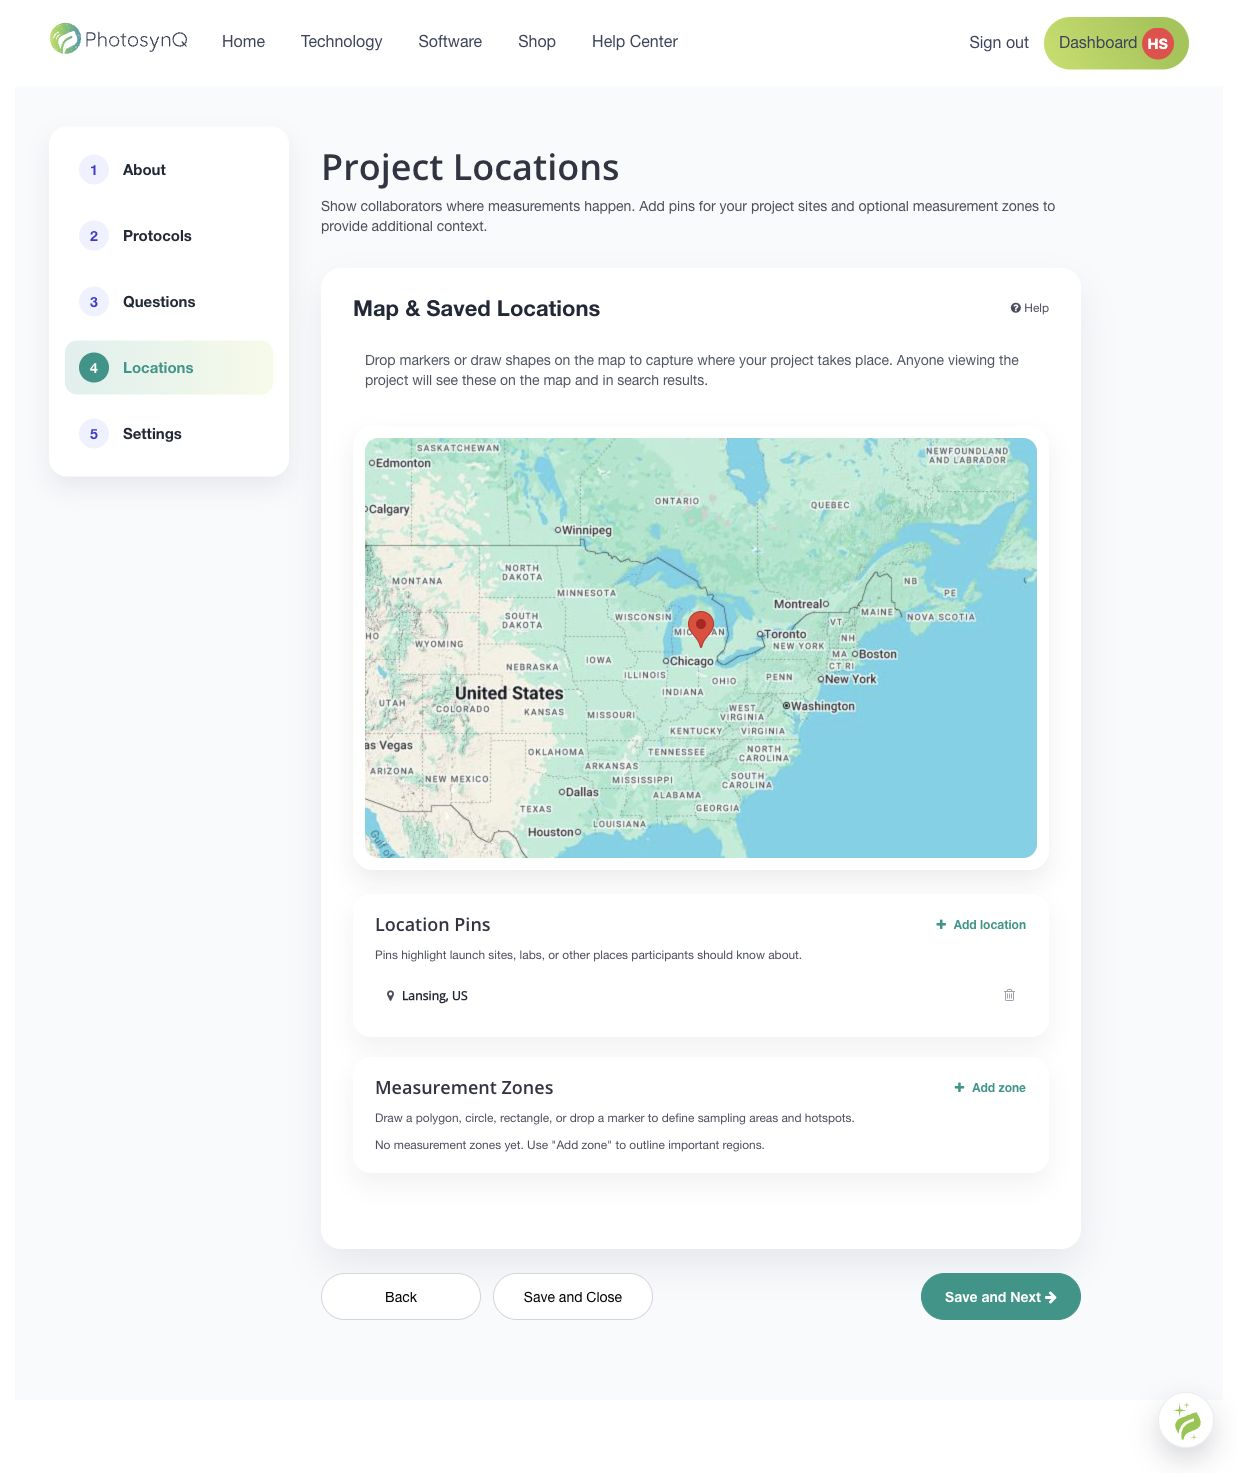
Add one or more Project locations or measurement zones. Confirm that each map marker or boundary describes the intended collection area, then select Save and Next.
See Project Locations.
# 5. Settings and subscription
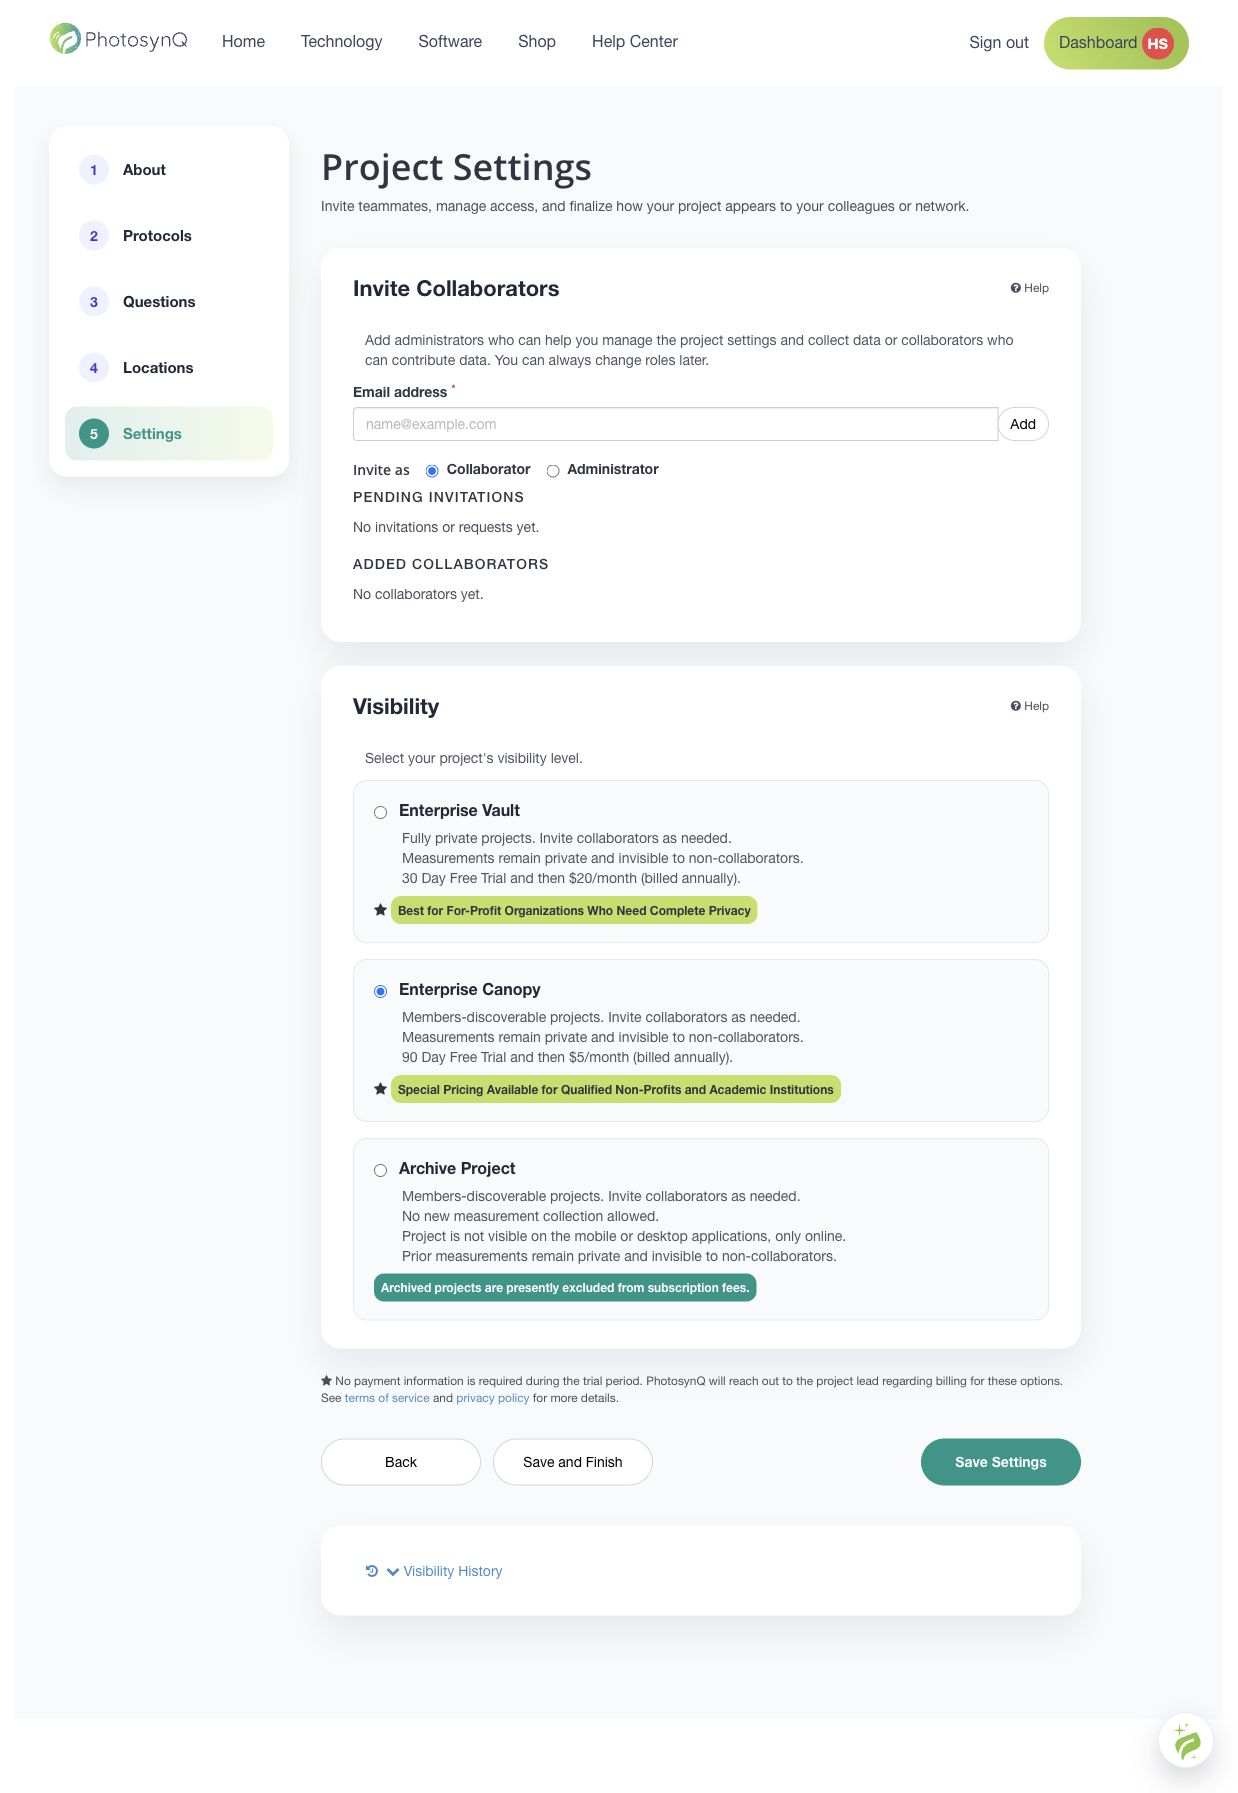
- Invite collaborators or administrators when needed.
- Select the Project visibility and subscription option:
- Vault: fully private; review the displayed trial and annual billing terms.
- Canopy: discoverable to PhotosynQ users while measurements remain private; review the displayed trial and annual billing terms.
- Archive Project: read-only and unavailable in the collection apps; review the displayed fee status.
- Review the current pricing and trial text shown on the screen.
- Select Create Project.
Pricing, trials, payment requirements, and eligibility can change. Treat the terms displayed in the application as authoritative when creating the Project.
Before creating the Project
The final action saves the selected visibility and completes the Project. Confirm the protocol, questions, locations, collaborators, and subscription option before selecting Create Project.