# Instrument Calibrations
PhotosynQ Instruments come pre-calibrated from the factory. Over time you can repeat the calibrations to ensure high quality measurements. Depending on the Instrument and the Firmware version, the available calibrations can vary.
Note
The Mobile Application does not support Instrument Calibrations.
For detailed instructions on how to use the calibrations, please refer to the Calibrations chapter.
# Desktop App
When using the Desktop Application to run Instrument calibrations, follow these steps to get started:
- Connect your Instrument, using USB or Bluetooth.
- Select Instrument Calibrations from the Settings menu.
- Depending on the connected Instrument and Firmware version, you will see your available calibrations.
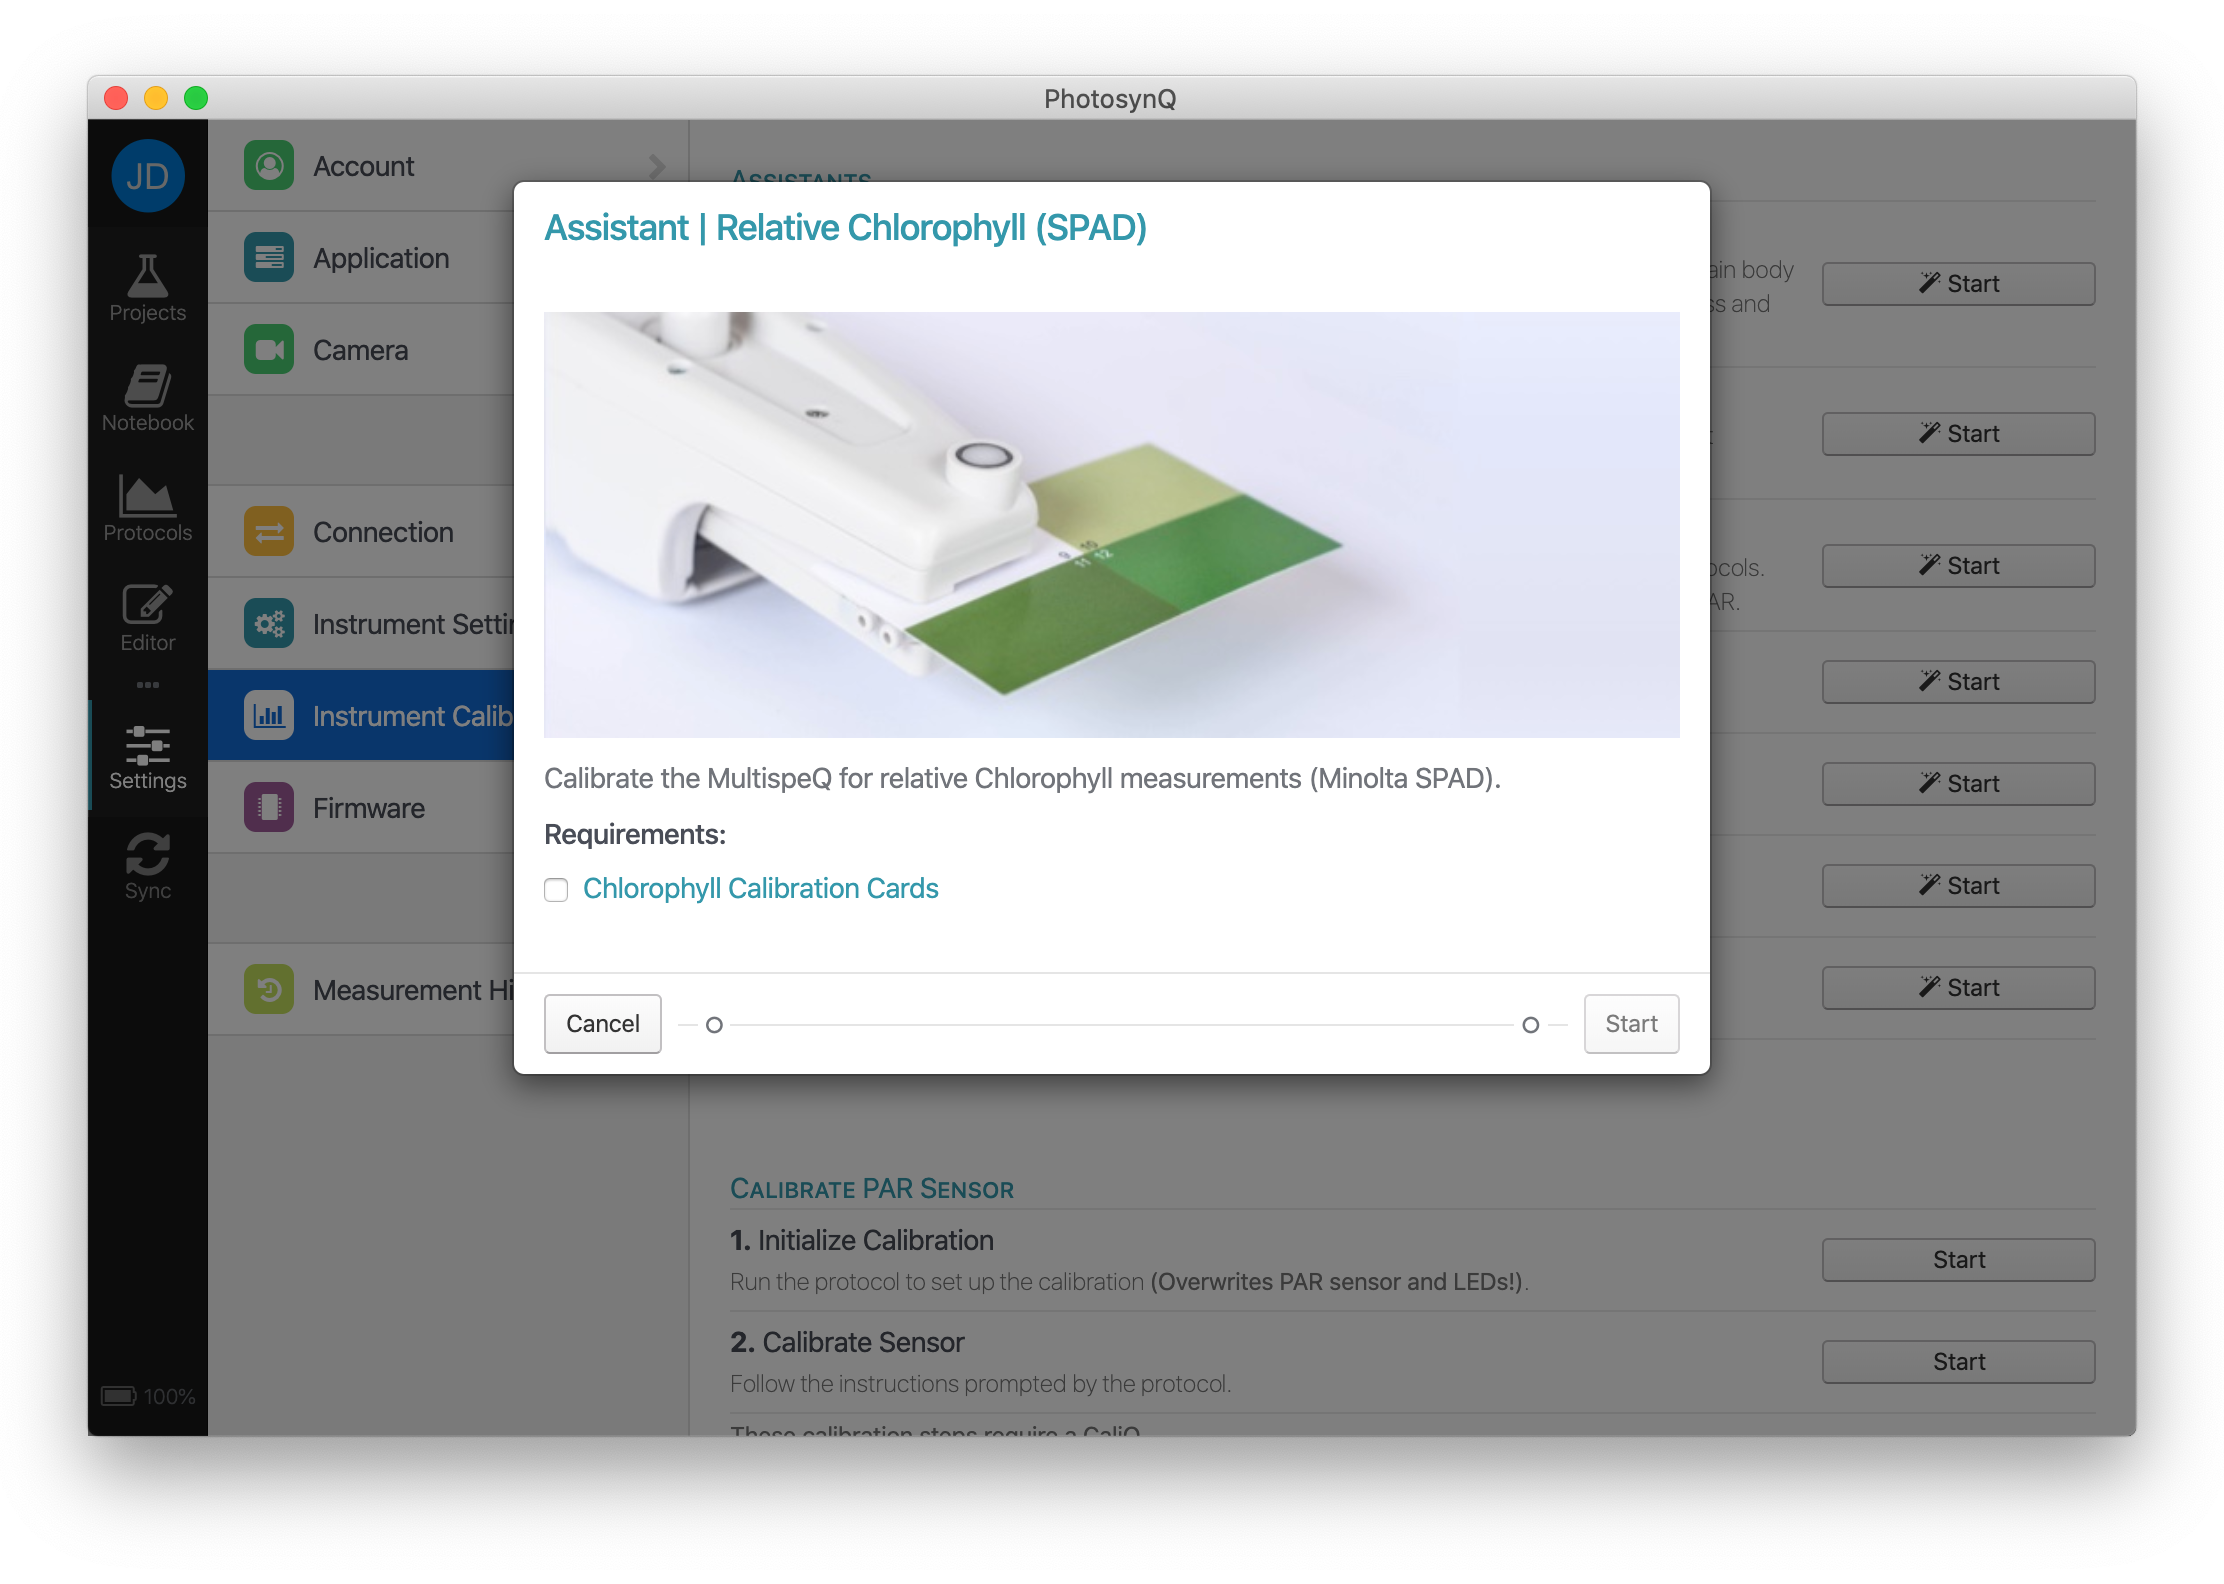
- Select the Calibration Assistant or the Protocol you want run.
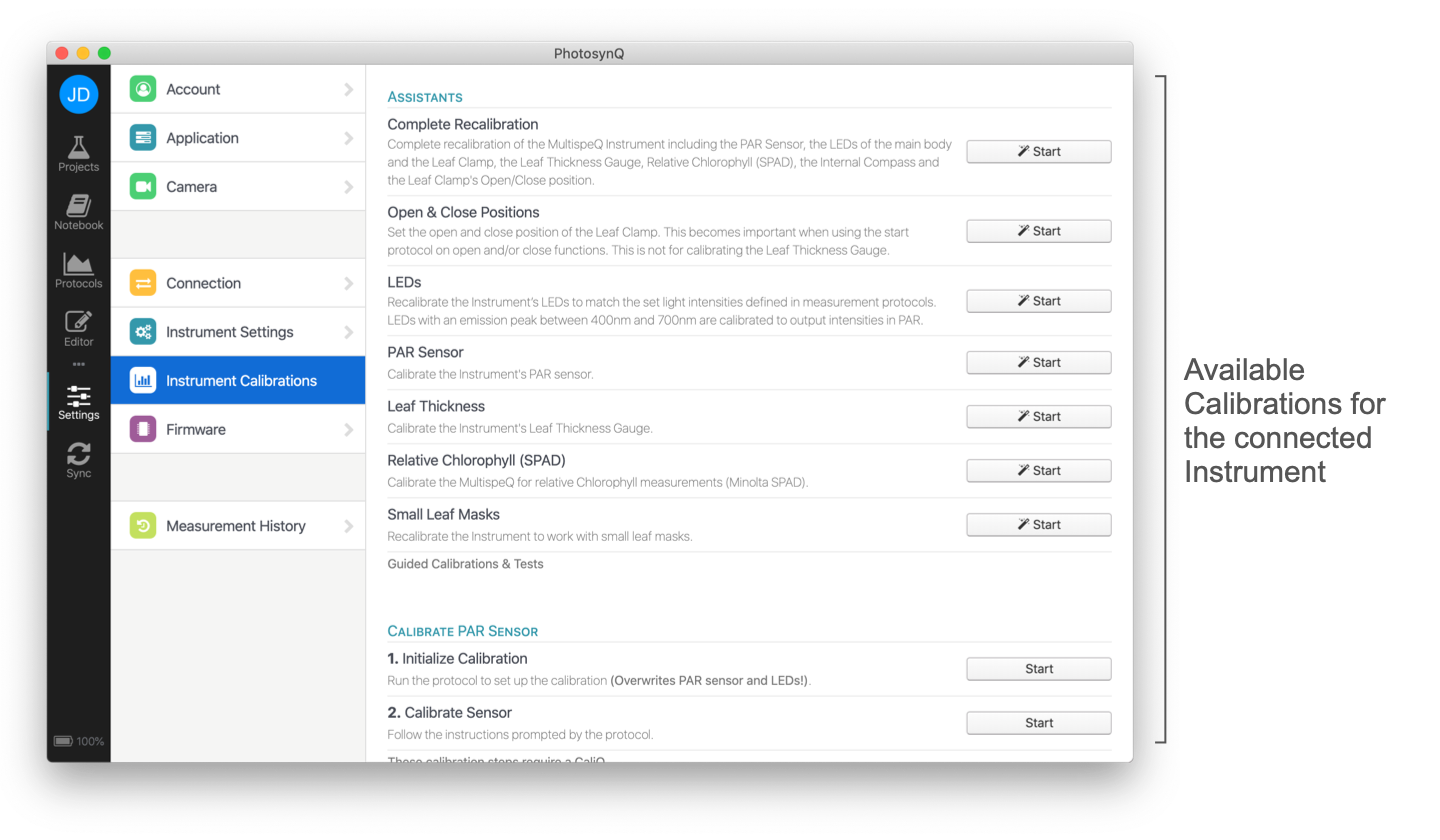
# Assistants
In order to guide you through the process of calibrating the Instrument, there are several assistants available describing each step required. This is the easiest and safest way to calibrate the Instrument.
# Manual Calibrations
If you are an advanced user and you prefer to run the calibrations protocols individually, or you want to run a specific calibration that is not covered by the available assistants, you can run the specific calibration protocols manually.
Trouble Shooting
- When performing a calibration that has multiple steps, always start with Step 1.
- Make sure the leaf clamp is completely closed when clamping cards before confirming the next step.
- When calibrating any of the lights or the PAR sensor, make sure the battery level is at least 50%.
# Saving Calibrations
After each calibration protocol, you have to save the calibration back to the Instrument. Use the Save to Instrument button from the top menu to bring up the confirmation dialog. Click on OK to confirm the data that is sent and saved to the Instrument.