# Overview
All instruments are factory calibrated when shipped to you. Nevertheless it is important to validate and calibrate you instruments from time to time to ensure precise measurements and the best scientific outcome.
Requirement
In order to calibrate any Instrument, make sure you have the latest version of the Desktop Application installed on your computer.
# 1. Charge Instrument Battery
Before you can start calibrating your instrument, make sure the batteries of your Instrument are fully charged (at least 50%). Some of the LEDs are drawing a lot of power and the precision of the calibrations can depend on that.
You can find the battery status in the Desktop Application at bottom of the left side menu when the instrument is connected. Or you can get the battery status by selecting View → Console from the top menu and typing the command battery followed by the enter key into the input field.
# 2. Clean Instrument
For the best results and precise calibrations, make sure the Instrument is clean, especially the light guides. Please refer to the cleaning instructions for your instrument.
Be careful!
Never use organic solvents and a wet or abrasive cloth to clean the Instrument an Light Guides!
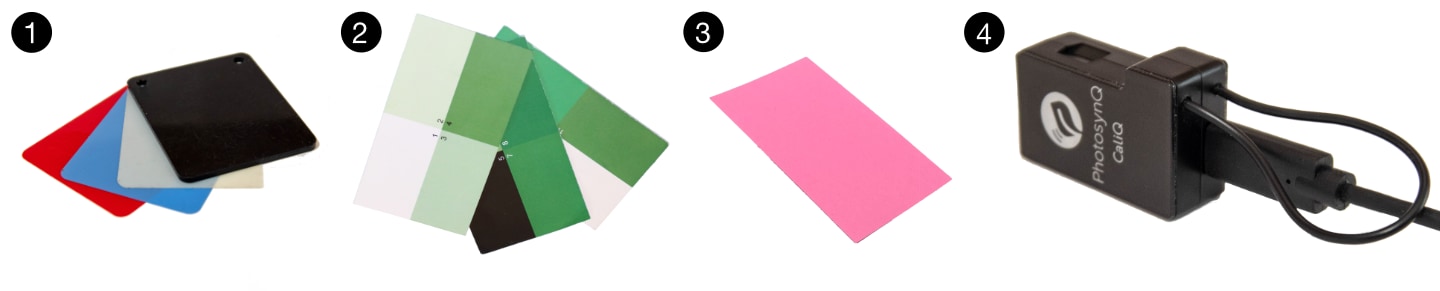
# 3. Check Supplies
The CaliQ instrument comes with supplies for the calibration. Make sure you have all the supplies ready and they are clean. Calibration cards should have no folds, since those might impact the quality of the calibration.
# 4. Desktop Application
Make sure you have the latest version of the Desktop Application installed or download (opens new window) and install the application before you continue. To check if you are running the latest version, Edit → Check for Updates... on Windows and Linux or select PhotosynQ → Check for Updates... on a Mac.
# 5. Update Firmware
Check if there is a new firmware version is available for the Instrument to be calibrated (Firmware Updates). Depending on the firmware, some calibrations might be different or are not available. Make sure to always run the latest firmware for the most up to date methods and best results.
Update to Firmware v2.343
Please make sure you have a CaliQ at hand, since these firmware updates require a recalibration of the Instrument! In any case, please check what is required for a firmware update, before starting the update process.
# 6. Perform Calibrations
Perform the calibrations according to the instructions for your Instrument. In case a calibration consists of multiple steps, make sure to run them all in the correct order. Otherwise the correct and precise calibration can't be guaranteed. In order to perform the calibrations, make sure you are familiar using the Desktop Application's Calibration Menu. Please find detailed instructions in the next chapters.
# 7. Test Instrument
Before taking your Instrument back out in the field, make sure you have tested your calibrations. At this point, calibrations can only be performed using the Desktop Application, so it might be difficult to run a recalibration in the field.