# Instrument Backups
Calibration Information, Settings and as well as Instrument related information is stored in the non-volatile memory (EEPROM (opens new window)) of your Instrument. This memory can be backed up using the Desktop Application, allowing to reset the Instrument if needed.
# Create a Backup
In order to create a Backup, make sure your Instrument is connected. Under the item "Memory Backup" you will find the date and time of the latest Backup and the Manage button. Click on Manage and select Create Backup from the dropdown menu. After a few seconds a Backup is created and the date and time is updated to match the time point of the Backup.
Firmware Updates
Before a Firmware Update, the Instrument's memory is automatically backed up, to ensure calibrations and settings can be safely transferred or restored after a Backup.
Calibration Assistant
When running an Assistant, the Instrument's data is automatically backed up after the Assistant has been successfully finished.
# Manage Backups
Instrument Backups are saved as files in the User Data folder of the Desktop Application. You can easily create and restore Backups from within the Application without ever opening the folder or files manually.
# View Latest Backup
Click on the Manage button and select View Latest from the dropdown menu. The latest backup will be opened in the editor connected to JSON files. In case you don't have an editor connected, just select any text editor like Notepad on Windows, to view the file.
# View Folder
To view a specific Backup or share the file, click on the Manage button and select Show Folder to open the folder with all backup files in your file manager. Each file is named after the date and time the backup was created (e.g. 2020-07-07T19.07.58.json). The folder containing the files is named after the Instrument's ID without the colons (e.g. ID: 52:00:13:1f | Folder: 5200131f).
Note
Altering the files content or saving them when viewing will cause the file associated timestamp to be updated. This causes the backup file to be recognized as the latest, even though it is technically not the latest Backup.
# Restore a Backup
# Restore Latest
To import the latest Backup, simply click on the Manage button and select Restore Latest from the dropdown menu. A protocol automatically runs, making sure the Backup data is correctly translated into commands for the Instrument. When the protocol is done select Save to Instrument from the top menu and confirm the popup dialog. After this the Backup has been restored.
# Restore Manually
To manually select a Backup to restore, click on the Manage button and select Restore Backup from the dropdown menu. Then select the backup file you want to restore from the file open dialog. The standard folder for your Instrument Backups is select, but you can select a file from any location. After that the protocol to restore the Backup is executed and the procedure is the same as restoring the Latest Backup.
Selecting a Backup
When selecting a file, the Application will check if the Instruments ID and the ID saved in the Backup match. If this is not the case, a warning is shown, preventing you from accidentally restoring a Backup for a different Instrument. If, for any reason, you want to proceed anyways, just select Restore from the dialog.
# Current Instrument Memory
You don't have to create a Backup to view your connected Instrument's memory. The memory content can be displayed in the Console Window of the application. There are two ways of accessing the memory, either through the Instrument Settings or the Console directly.
# Instrument Settings
If you have your Instrument connected, select Instrument Settings from the menu and scroll to Instrument Information. Click on the button labeled Show of the item named Stored Information (EEPROM). The Console Window will automatically open, showing the Instruments current memory content.
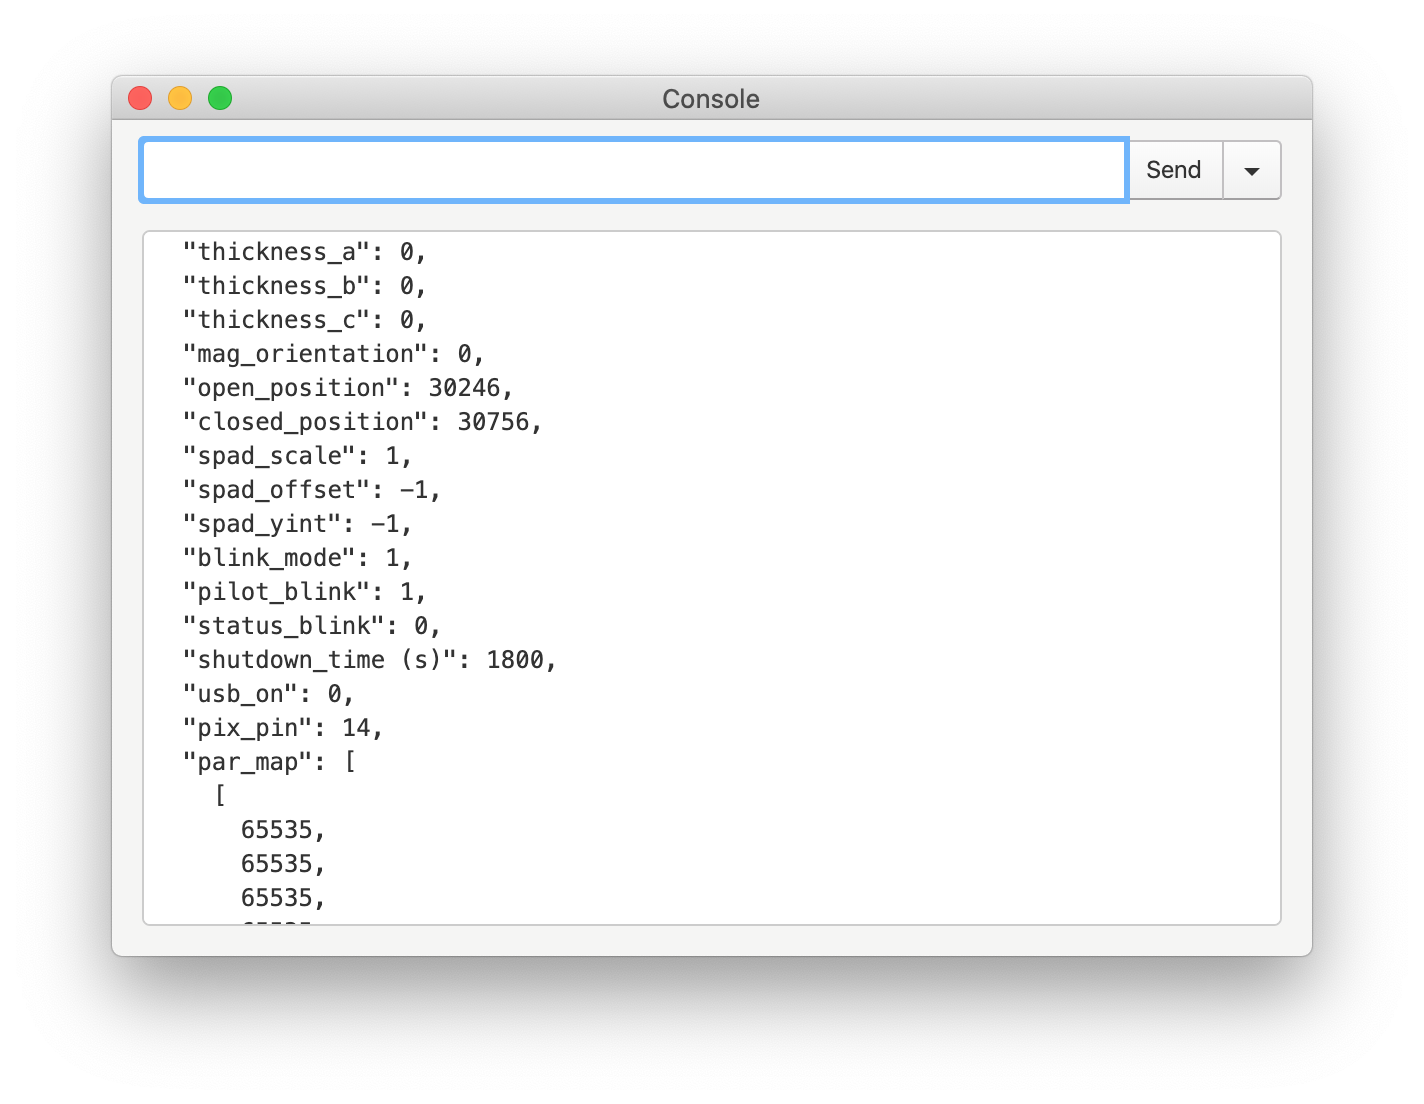
# Console
If you using the console commands already, you can type the command print_memory instead of selecting the option from the Settings menu. The output of the instrument is the same in both cases.
Questions for Support
Whenever you have a question about the functionality of your Instrument or you have an issue, copy the output from the Console window and attach it to your email to allow the PhotosynQ Support to process your question faster.